
Last updated October 16, 2026
 AC repair
 Furnace & heating
 Heat pumps
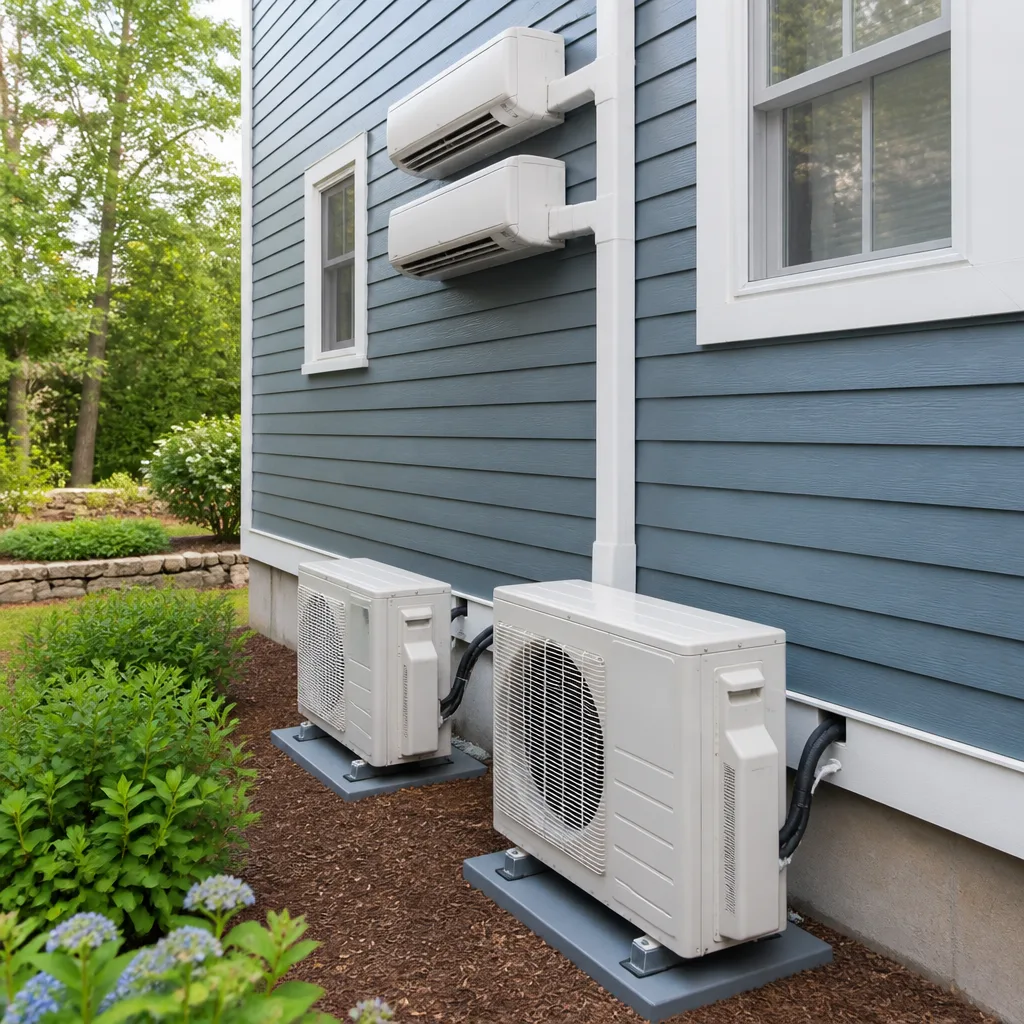 Ductless mini splits
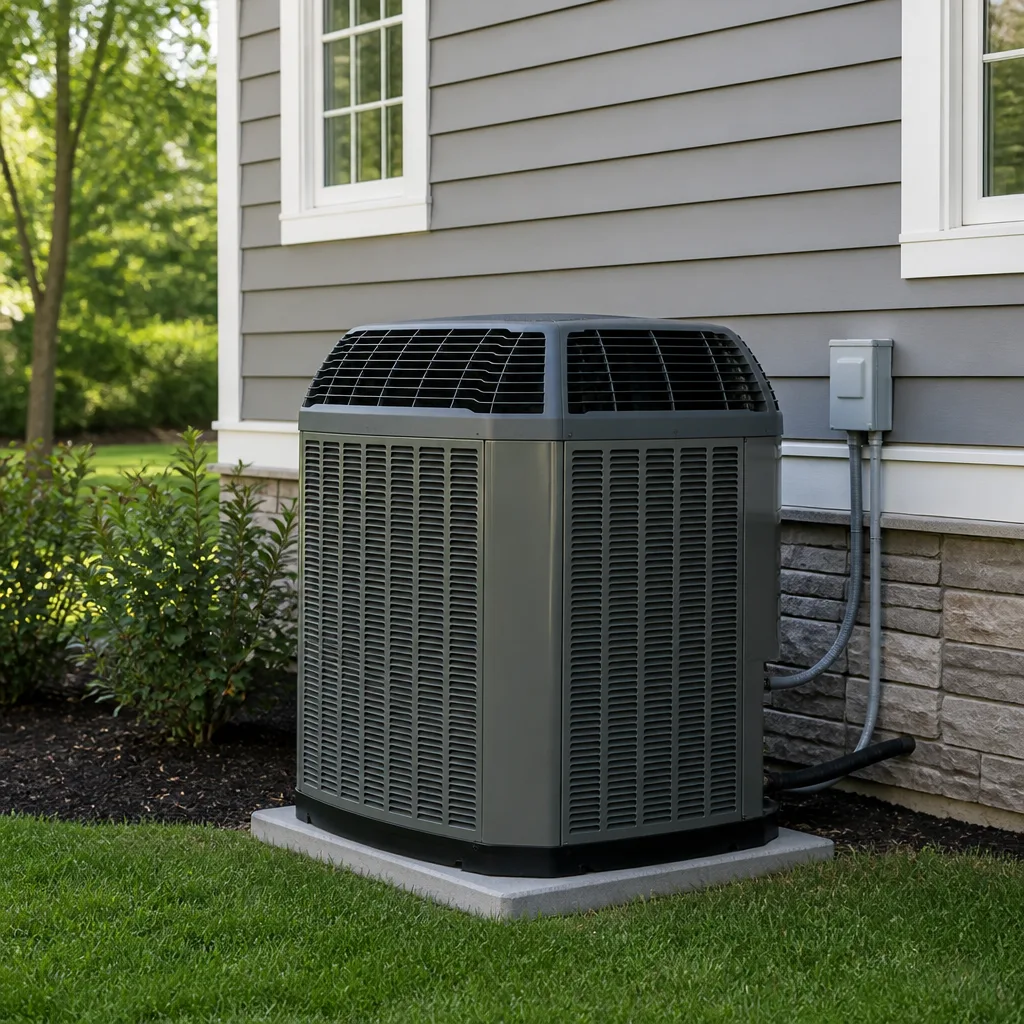 Trane
Trane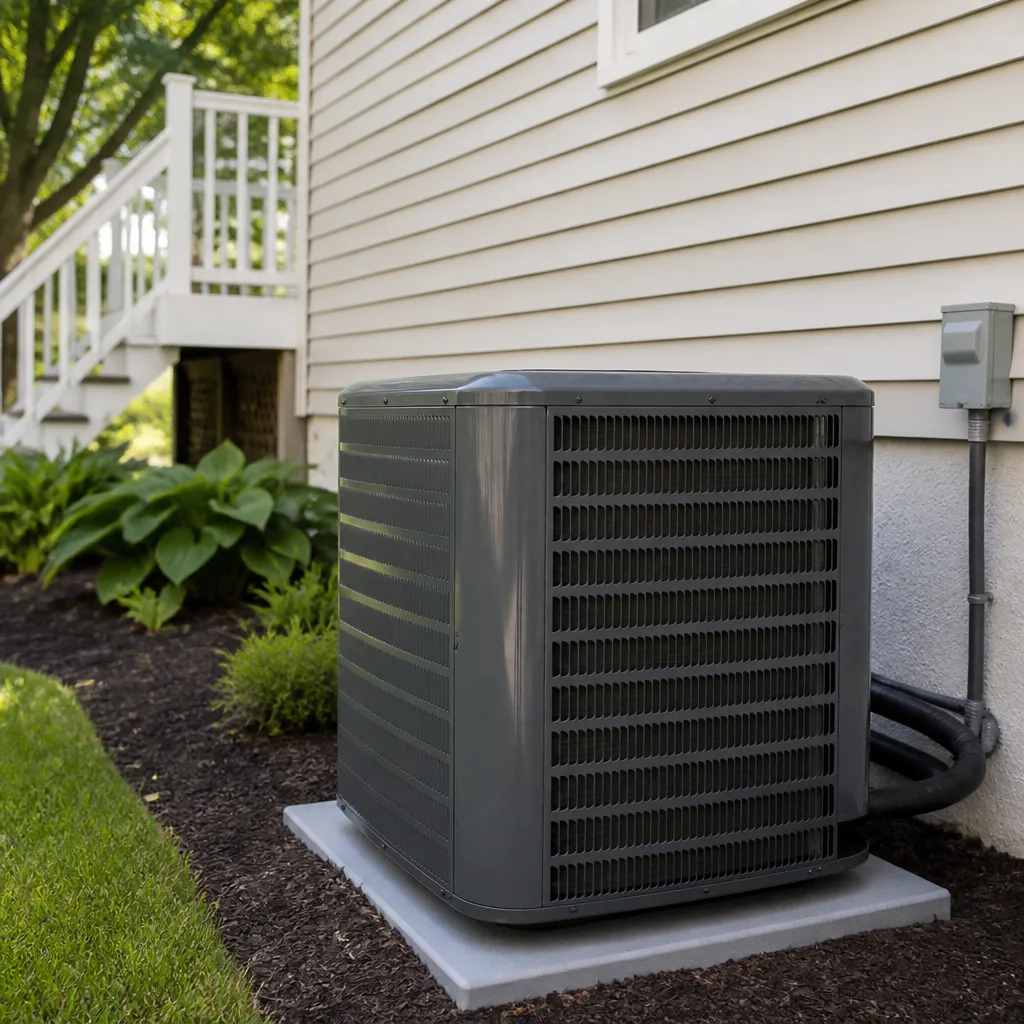 Goodman
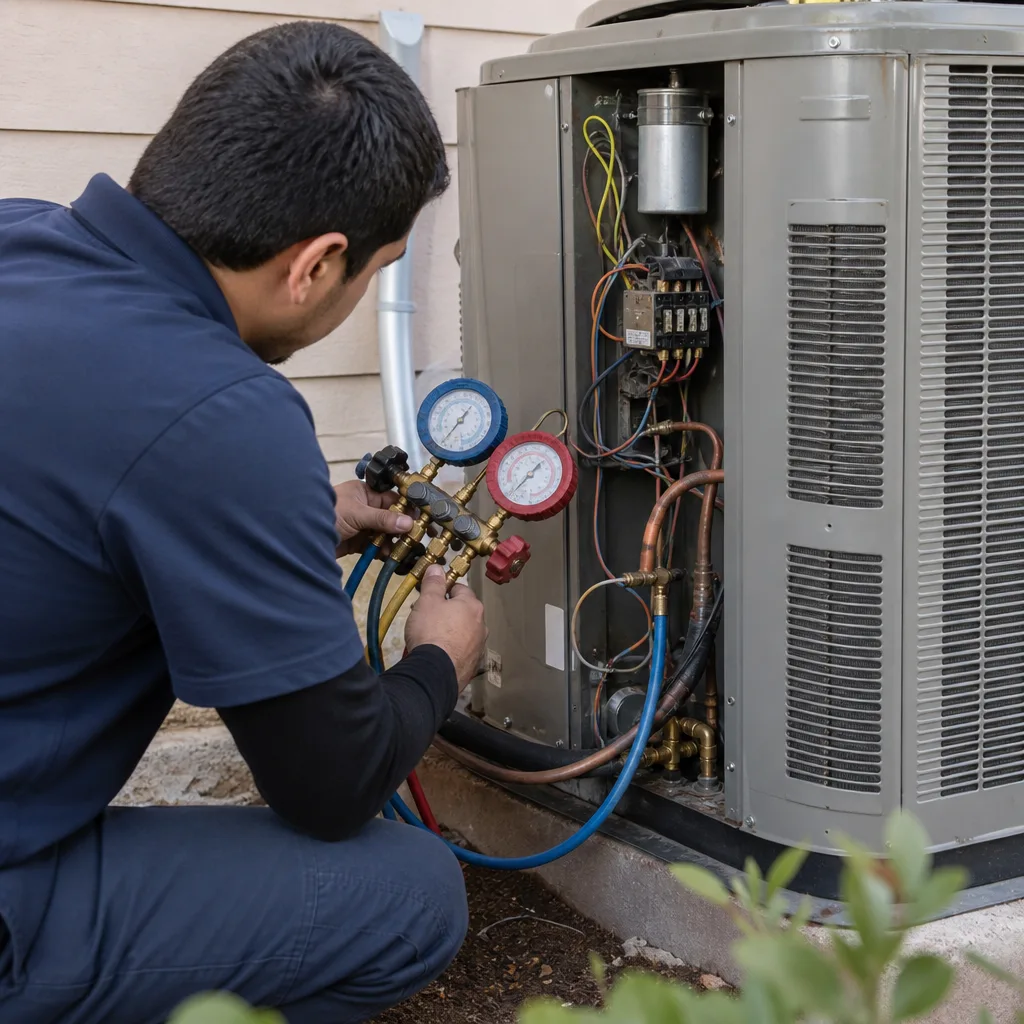
Seasonal tune-up and full diagnostic on your Carrier, Trane, or Goodman system - readings shown to you before any repair is proposed
Diagnosis first, numbers second - you approve the repair price before a single part goes in.
Get your free estimateAC Repair Maintenance Checklist for San Antonio Homeowners
The number-one reason San Antonio AC units fail in June isn’t age or a bad part, and it’s exactly why AC Repair services get so busy that month. It’s a clogged drain line that’s been building up since March while the homeowner was using a checklist designed for someone in Ohio. South Texas cooling is a different animal. We run air conditioners nine months out of the year, often through 100-degree afternoons and 80-percent humidity, and the maintenance that actually prevents breakdowns in San Antonio doesn’t follow the same calendar as maintenance in Minneapolis or Nashville. This guide is built backward from the South Texas cooling season. You’ll learn which tasks to do each month, which ones are safe to do yourself in about ten minutes, which ones you should never touch without a licensed tech, and how to spot the failure signs that matter most in this specific climate. If you own a home in San Antonio, this is the only AC maintenance calendar you need.
Styles & brands we work with
Quick Answer
An effective AC maintenance checklist for San Antonio homeowners follows the local cooling calendar, not a generic spring-and-fall schedule: clean or replace air filters monthly during peak season, flush the condensate drain line every 60 to 90 days starting in March, inspect the outdoor condenser coil for dirt and cottonwood buildup in April and May, and schedule one professional inspection in late February or early March before the first extended heat wave. Most DIY-friendly tasks take under ten minutes and cost under $30 in supplies. The tasks that involve refrigerant, electrical components, or the blower assembly should be handled by a licensed technician, because getting them wrong voids manufacturer warranties and can create safety hazards.
Table of Contents
- The San Antonio Month-by-Month Maintenance Calendar
- DIY-Safe Tasks vs. Warranty-Voiding Tasks
- The Condensate Drain Line: San Antonio’s Most Common Failure Point
- Three San Antonio-Specific Failure Points Most Checklists Miss
- How to Document Your Own Maintenance for Warranty Claims
- Red Flags During Self-Inspection: 24 Hours vs. 30 Days
- What a Professional Inspection Should Include (and What It Should Cost)
- Common Mistakes to Avoid
- When to Call a Professional
- Frequently Asked Questions
- The Bottom Line
The San Antonio Month-by-Month Maintenance Calendar
Here’s the maintenance schedule that actually fits how San Antonio weather behaves, and for broader context see The Complete Guide to HVAC in San Antonio. Our team at Halden Heating and Air San Antonio has used versions of this calendar across thousands of local service calls, and it’s built around the specific reality that San Antonio’s first 90-degree day usually lands in March, while the real humidity spike holds off until June.
January: Light-Touch Month
January in San Antonio is mild, usually hovering in the 50s and 60s, and your AC is doing very little work. This is the month to handle low-stress tasks.
- Replace the air filter if you didn’t in December. A fresh filter at the start of the year costs $8 to $20 for most standard sizes. Write the date on the filter frame with a permanent marker so you never have to guess when it went in.
- Check the outdoor condenser unit for winter debris. Leaves, twigs, and the occasional plastic bag blow into the fins during winter storms. Clear anything visible from the top and sides. You’re looking for visible blockage, not doing a deep cleaning yet.
- Test the thermostat. Run the system in cooling mode for ten minutes just to confirm it kicks on and blows cold air. Catching a dead capacitor in January is far less painful than discovering it on the first 95-degree day in April.
February: Professional Inspection Month
February is the single most important month on the San Antonio maintenance calendar. By late February, we’re typically seeing 80-degree afternoons, and the first sustained heat usually arrives in March. This is when you want a licensed technician to do the preseason inspection, because the parts they catch now are the parts that would fail at 2 a.m. in June.
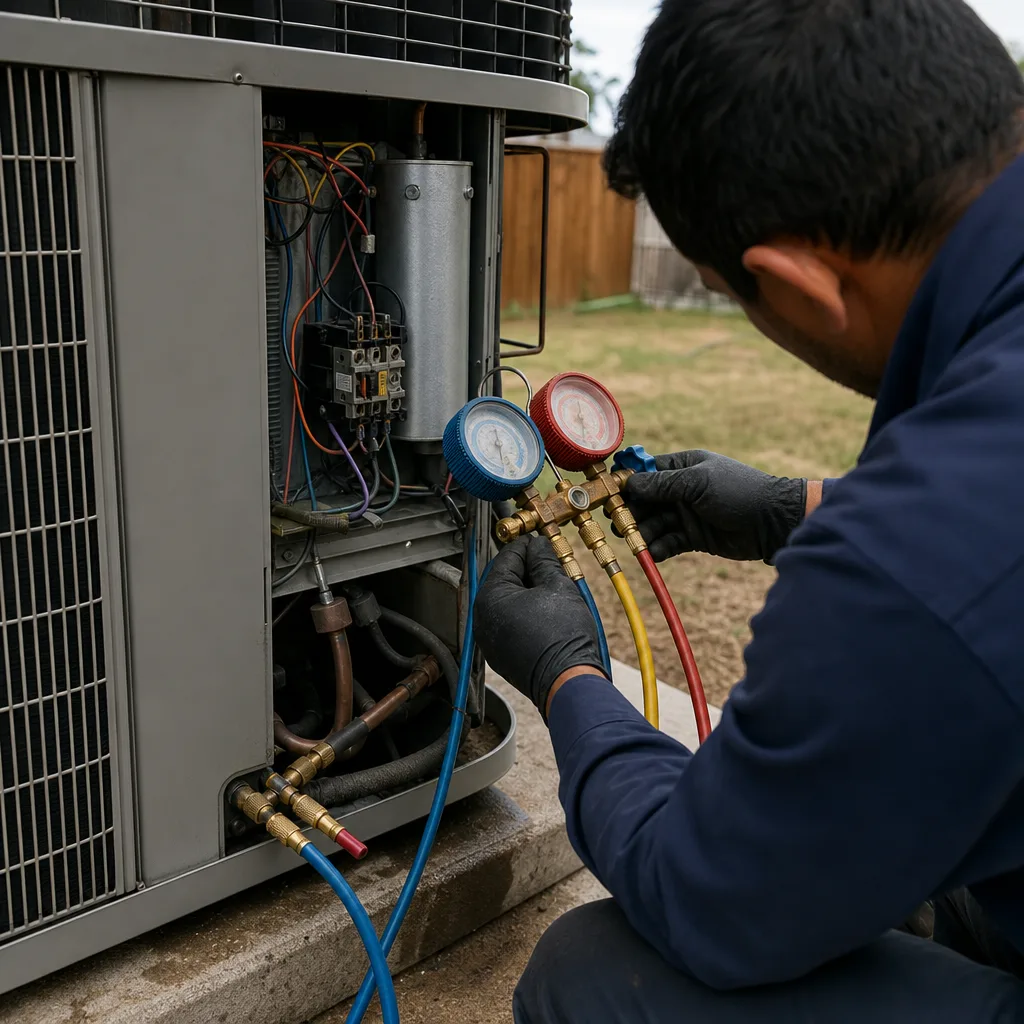
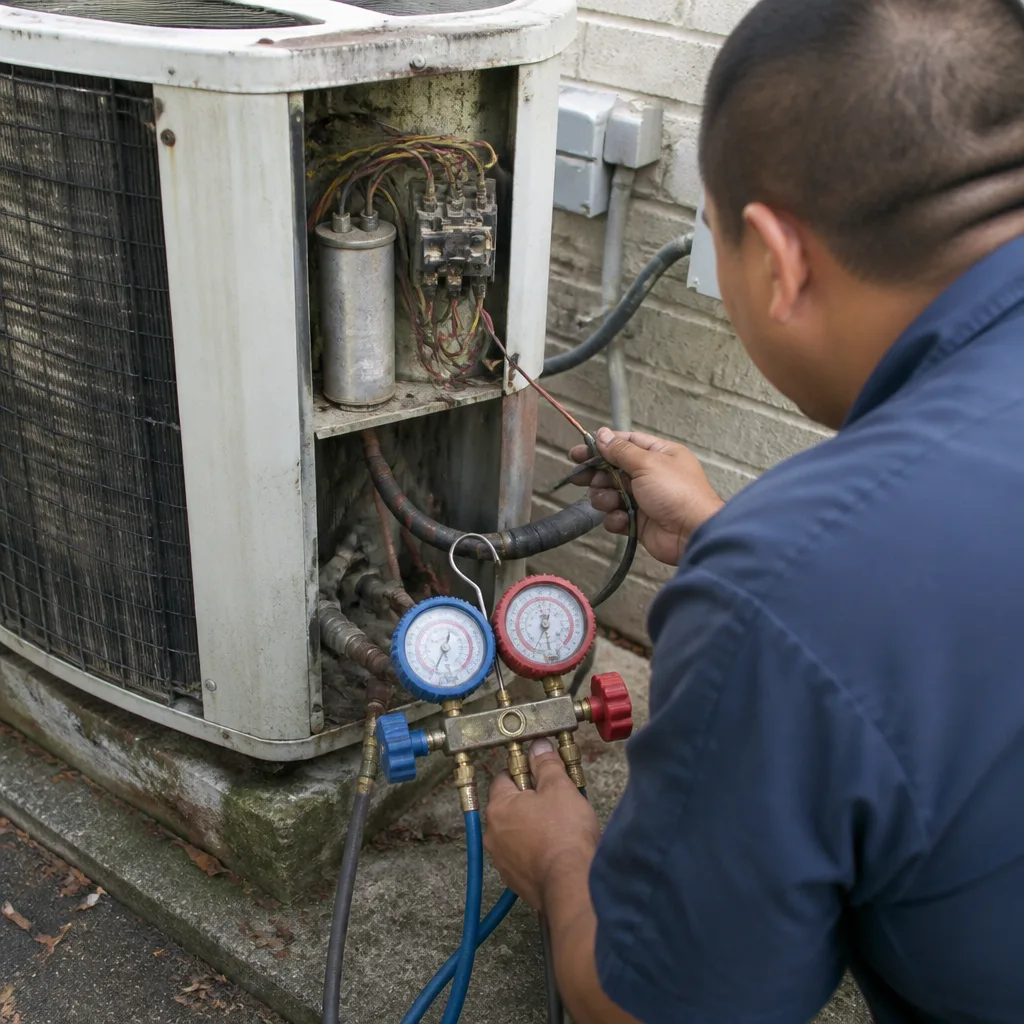
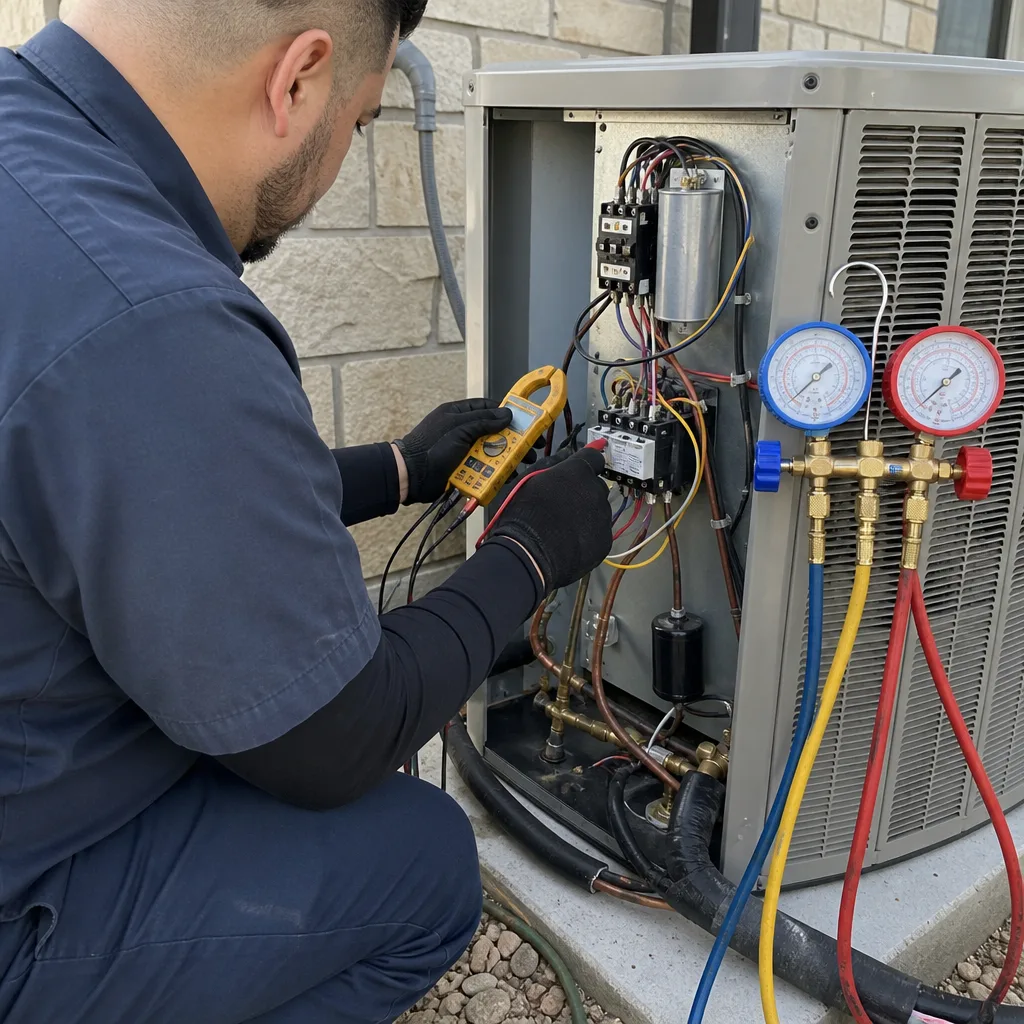
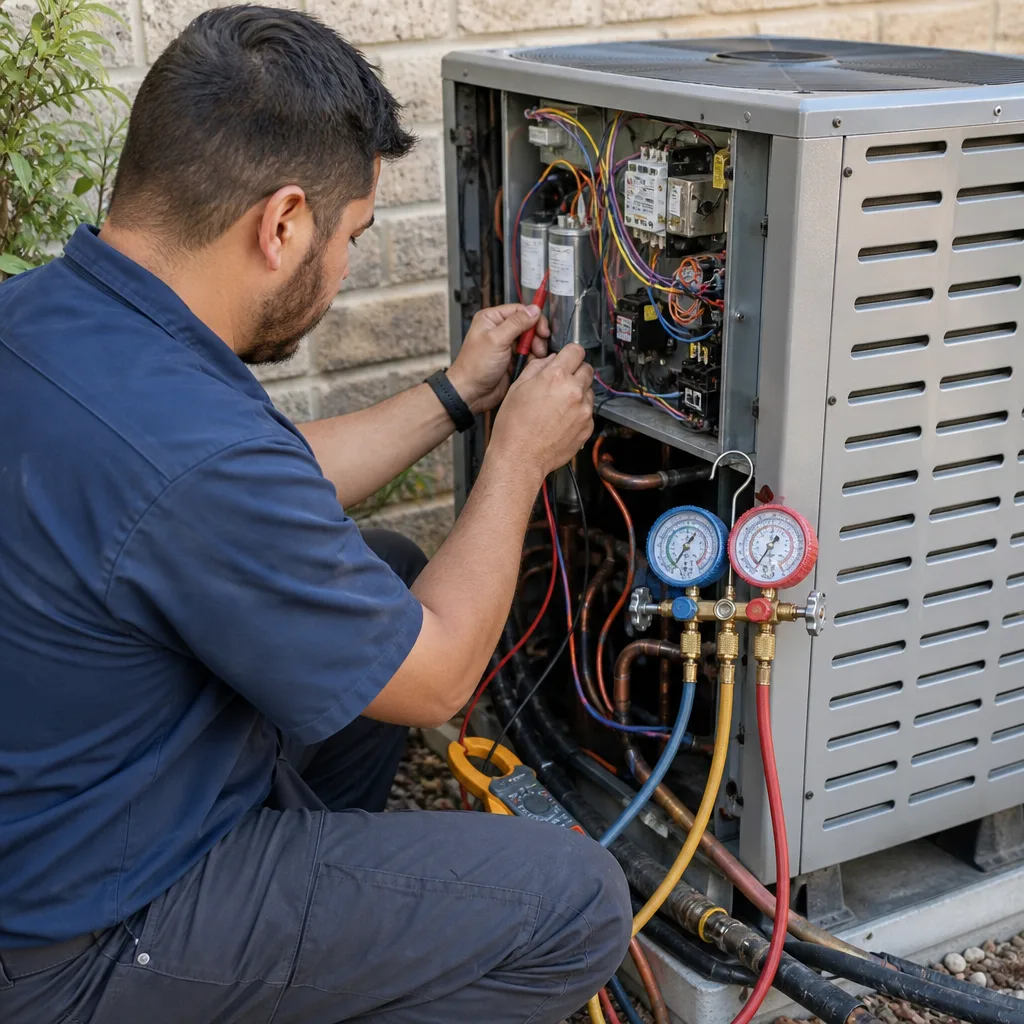
A February inspection should include a coil inspection, refrigerant pressure check, capacitor test, contactor inspection, drain line flush, and blower motor amp draw test. Most San Antonio HVAC companies charge between $75 and $150 for this preseason tune-up. Halden Heating and Air San Antonio gives you a written price before any work starts, so you know the inspection cost before the tech arrives, not after.
March: First Heavy-Use Month
By March, your AC is running daily. The first 90-degree day has usually arrived, and the system is ramping up from near-dormancy to continuous duty. This is when small problems become expensive ones.
- Replace the air filter again. During peak season, every 30 days is the right cadence for most San Antonio homes. Homes with pets, shag carpet, or open windows during the February cool spells should consider every two to three weeks.
- Flush the condensate drain line. Pour one cup of white vinegar or hydrogen peroxide into the drain line access point near the indoor air handler. Let it sit for 30 minutes, then flush with two cups of warm water. This takes under ten minutes and prevents the single most common San Antonio AC failure.
- Visually inspect the outdoor coil. Look for dirt, grass clippings, and early-season pollen coating the aluminum fins. If you can see visible gray fuzz built up on the coil surface, it’s time to call for a coil cleaning. Don’t try to pressure-wash it yourself; the fins bend easily and a bent coil is a costly repair.
April: Pollen and Cottonwood Month
April is when San Antonio’s live oak and pecan trees dump pollen by the pound, and the cottonwood starts shedding in earnest. Your outdoor condenser coil is an air filter for your yard, and it’s pulling in everything the wind blows past it.
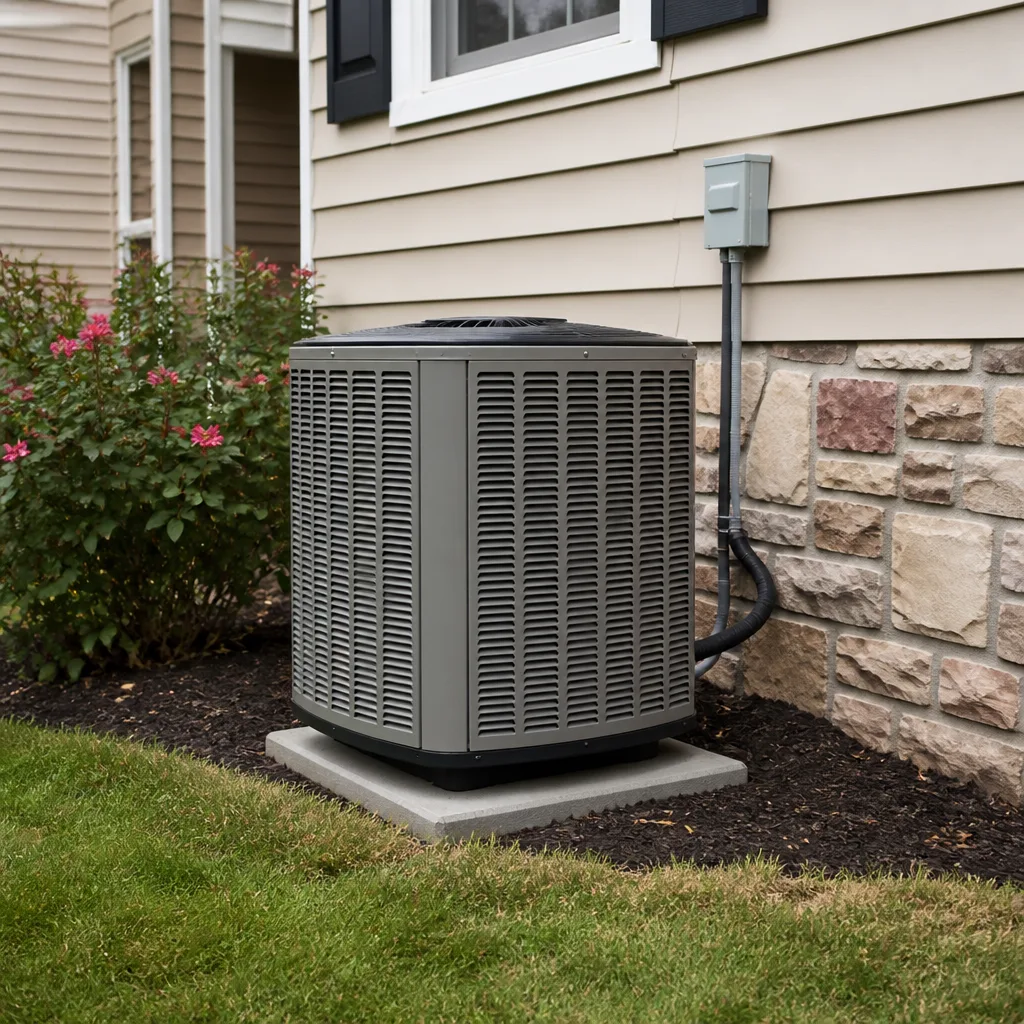
- Rinse the condenser coil. If you can see a visible layer of yellow-green pollen on the coil fins, turn off the breaker to the outdoor unit and gently rinse the coil with a standard garden hose with a nozzle set to a soft fan pattern. Never use high pressure, and never spray directly into the electrical panel. Let the unit dry for 30 minutes before turning the breaker back on.
- Check the condensate drain line weekly. Pollen season means the drain line can clog twice as fast. If you hear gurgling from the indoor unit, or see water pooling around the base of the air handler, the line is already partially blocked.
- Inspect the air filter more often. If your filter is visibly brown or gray after two weeks, replace it. Pollen season overworks filters faster than any other time of year in San Antonio.
May: Pre-Summer Peak Preparation
May is the last calm month before San Antonio’s long summer grind. Temperatures are hitting the mid-90s, but the extreme humidity hasn’t set in yet. This is the month to handle tasks that are miserable to do in June and July.
- Replace the filter on schedule. By now you should be replacing it every 30 days without thinking about it. If you’re running a basic one-inch fiberglass filter, consider upgrading to a pleated MERV 8 filter. It catches more pollen without restricting airflow the way higher-MERV filters can.
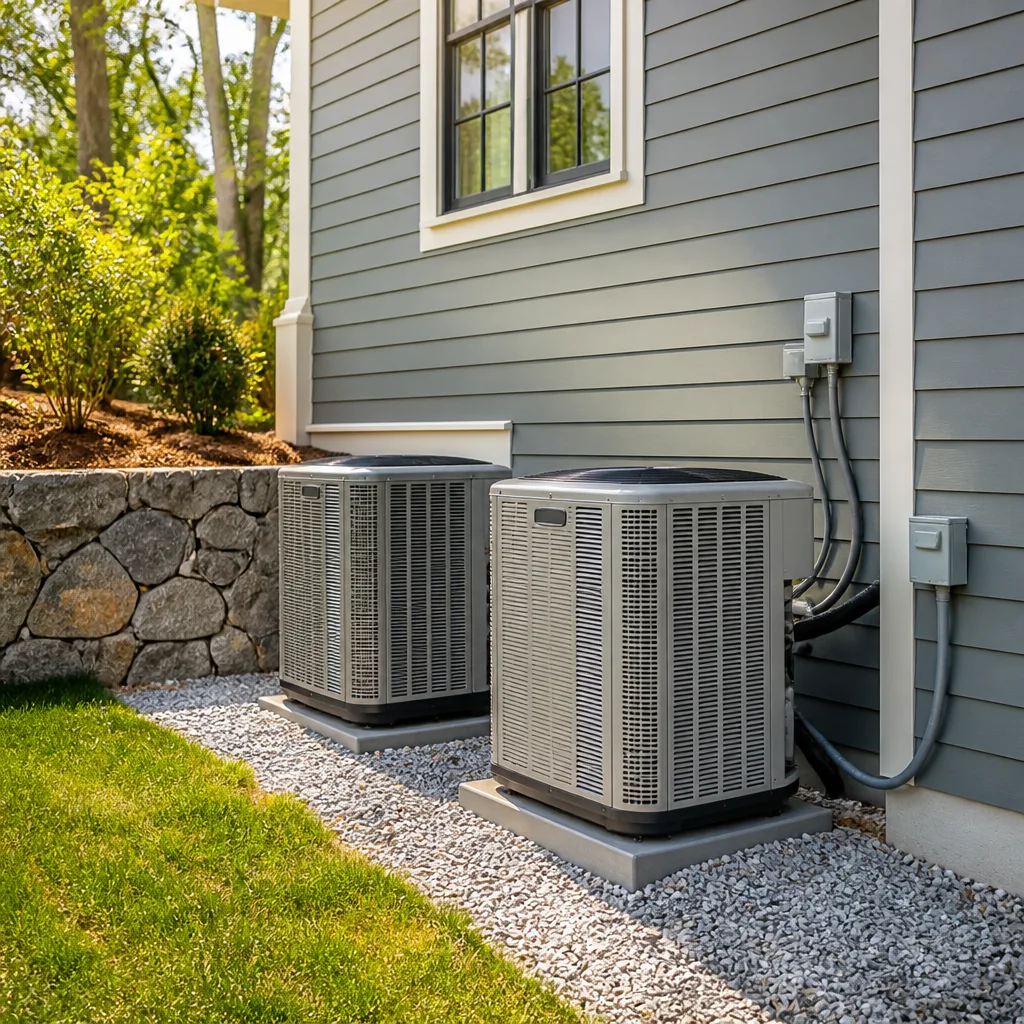
- Inspect the refrigerant line insulation. Walk outside and look at the copper line running from the condenser to the wall of your house. It should be fully wrapped in black foam insulation with no cracks, gaps, or sunlight-bleached sections. San Antonio’s UV exposure shreds this insulation in two to three years. Uninsulated sections cause efficiency loss and condensation drips that can stain exterior walls.
- Check all supply vents and returns. Make sure no furniture, rugs, or curtains are blocking airflow. A blocked return vent makes the blower work harder and can freeze the evaporator coil, which turns into a $400 repair.
June through August: Peak Stress Months
This is survival season. The AC runs 16 to 20 hours a day, the humidity is brutal, and the grid is under peak load. Your maintenance focus shifts from prevention to monitoring.
- Replace the filter every 30 days without exception. A clogged filter during a San Antonio August is the fastest way to freeze a coil or overheat a compressor.
- Flush the drain line every 30 days. Peak humidity means more condensation moving through the line, which means faster algae and mold buildup. A monthly vinegar flush takes ten minutes and costs less than a dollar.
- Listen for new sounds. A buzzing contactor, a grinding blower motor, or a hissing refrigerant line are all signs something is about to fail. Any new sound that wasn’t there in May is worth a call to a technician.
- Monitor your electric bill. A sudden 25 percent spike without a corresponding weather change usually means the system is running inefficiently. Low refrigerant, a dirty coil, or a failing capacitor are the usual suspects.
September: Transition Month
The worst heat is usually breaking by late September, but San Antonio still sees 90-degree days well into October. This is a good month for a mid-season check on the outdoor unit.
- Clear accumulated cottonwood fluff and grass clippings. Summer mowing seasons pushes debris into the bottom of the condenser cabinet. Turn off the breaker and remove visible debris from the base pan.
- Inspect the capacitor. If you’re comfortable using a multimeter and know how to discharge a capacitor safely, you can test it yourself. If you’re not 100 percent confident, this is a two-minute check a licensed tech can do during a repair visit. Capacitor failure is the single most common AC repair we see in San Antonio, and it’s often preventable with early detection.
- Start thinking about heating season. San Antonio winters are short but real. The same air filter and drain line maintenance applies, but the next big date on the calendar is late January, when you’ll want the furnace checked if you have one.
October through December: Wind-Down and Preparation
By late October, the AC is running only part-time. November and December are typically mild, with occasional cold fronts. Use this stretch for the low-priority tasks.
- October: Replace the filter one more time. Clear any remaining leaves and debris from the outdoor unit. If you haven’t already, this is a good time to schedule any repair you’ve been putting off, since temperatures are pleasant and the system isn’t in high demand.
- November: If you have a furnace, run it for 15 minutes to make sure it fires properly before the first cold snap. If you have a heat pump, switch the thermostat to heating mode and confirm warm air comes from the vents.
- December: Replace the filter. Check the outdoor unit one more time for winter debris. If the unit sits under a tree that drops leaves all winter, check it every few weeks. Consider whether you want to cover the condenser, but know that fully covering a unit can trap moisture and cause rust. A simple plywood cover set a few inches above the top of the unit to keep leaves out is usually enough, and plenty of San Antonio homeowners skip covers entirely with no issue.
DIY-Safe Tasks vs. Warranty-Voiding Tasks
There’s a clear line between what you can safely do yourself and what you should leave to a licensed technician. Getting this wrong isn’t just a safety issue. It’s a wallet issue, because several of the tasks that seem simple can void a manufacturer warranty if done incorrectly, and you’ll never know until the claim is denied.
DIY-Safe Tasks (Under 10 Minutes Each)
- Replacing the air filter. Tools needed: the correct size filter, about $8 to $20. Time: two minutes. This is the single highest-impact maintenance task any homeowner can do, and doing it wrong is nearly impossible.
- Flushing the condensate drain line with vinegar. Tools needed: white vinegar or hydrogen peroxide, warm water, a funnel if the access point is awkward to reach. Time: ten minutes including the wait. If you have a wet/dry shop vac, you can also suction the drain line from the outdoor exit point, which is more effective than vinegar alone.
- Rinsing pollen and debris off the outdoor condenser coil with a garden hose. Tools needed: garden hose with adjustable nozzle, breaker access, 30 minutes of patience. Time: ten active minutes. The key rules: turn off the breaker first, use soft pressure only, never spray directly into the electrical panel, and let everything dry before restarting.
- Checking the thermostat for accuracy and battery life. Tools needed: none. Time: two minutes. If your thermostat runs on batteries and the screen is dim, the batteries are dying and the system may cycle erratically.
- Clearing visible debris from the top and sides of the outdoor unit. Tools needed: gloves, a broom or brush. Time: five minutes. This is purely cosmetic, except when debris is blocking the fan or the coil airflow.
Never DIY: Tasks That Should Always Be Handled by a Licensed Tech
- Anything involving refrigerant. Refrigerant is regulated by federal law, and adding it requires an EPA Section 608 certification. If your system is low, it’s leaking, and the leak needs to be found and repaired before more refrigerant is added. A DIY recharge kit from the auto parts store is not a home AC solution, and it can destroy your compressor if the refrigerant isn’t compatible.
- Capacitor replacement. The capacitor stores high voltage even when the power is off, and it can deliver a serious shock if discharged incorrectly. This is a $150 to $250 repair handled by a trained technician who knows how to safely discharge, test, and replace the component.
- Blower motor removal or replacement. The blower assembly is heavy, awkward, and easy to damage. Getting it wrong means a motor that burns out early, an unbalanced blower wheel, or damage to the housing. We’ve replaced blower motors in San Antonio homes where a well-meaning DIY repair turned a $400 job into a $1,400 job.
- Electrical panel or wiring work. The disconnect box near the outdoor unit carries 240 volts. Anything involving the contactor, wiring, or the breaker panel is a job for someone with the right training and equipment.
- Compressor work. The compressor is the heart of the system. If it fails, the repair bill is usually $1,500 to $3,500, and sometimes it makes more sense to replace the whole system. Trying to fix a compressor yourself will almost certainly void the warranty and may finish the unit off for good.
Here’s the important part for warranty protection: every major HVAC manufacturer, including Bryant, American Standard, Carrier, and Trane, requires proof of professional installation and maintenance to honor warranty claims. If you do the work yourself and something breaks, the manufacturer can and will deny the claim. Keep receipts from every professional service visit, and take photos of your own DIY maintenance with dates. We’ll cover that more in the documentation section below.
The Condensate Drain Line: San Antonio’s Most Common Failure Point
In our experience across thousands of service calls in San Antonio, the condensate drain line causes more AC breakdowns than any other single component. That’s not a coincidence. San Antonio’s humidity runs high from April through September, and your air conditioner pulls gallons of moisture out of the air every single day. All that water has to go somewhere, and the drain line is a dark, damp, perfect environment for algae and mold to grow.
How the Drain Line Works
As warm air passes over the cold evaporator coil inside your air handler, moisture condenses on the coil surface, just like water droplets form on a cold glass of tea. That water drips into a pan and flows through a PVC pipe, typically one inch in diameter, that runs from the air handler to a drain point outside or into your plumbing. When that pipe clogs, the water has nowhere to go. It backs up into the drip pan, overflows, and triggers a float switch that shuts the system down to prevent water damage. That’s the moment most homeowners realize something is wrong: the AC is running but the house is hot, and there’s water on the floor near the air handler.
What Clogs It
- Algae and mold. The interior of the drain line stays wet and dark, which is exactly what algae needs to grow. The growth starts as a slime on the pipe walls and gradually builds until it blocks the flow.
- Dust and pollen. The same pollen that coats your outdoor unit gets pulled into the indoor coil and washed into the drain line by condensation. San Antonio spring pollen makes this worse than in most climates.
- Insulation debris. Small pieces of fiberglass insulation from inside the air handler can break loose and find their way into the drain line.
How to Flush It Yourself (Safe, 10 Minutes, Under $5)
- Locate the drain line access point. It’s usually a T-shaped PVC fitting with an open cap near the indoor air handler, often in a closet, attic, or garage.
- Turn off the AC at the thermostat.
- Pour one cup of white vinegar or hydrogen peroxide into the access point. Let it sit for 30 minutes. The acidic vinegar kills the early-stage algae growth before it becomes a clog.
- Flush with two cups of warm water. The water should flow freely. If it backs up or drains slowly, the line is already partially clogged.
- Turn the AC back on and verify that condensation drips from the outdoor drain point within a few minutes.
If you have a wet/dry shop vac, you can suction the line from the outdoor exit point for a more thorough clean. Just hold the vacuum hose over the pipe opening for 30 to 60 seconds. You’ll be surprised how much gunk comes out. Do this every 60 to 90 days during peak season, starting in March, and you’ll prevent most San Antonio drain line failures before they happen.
Three San Antonio-Specific Failure Points Most Checklists Miss
Generic maintenance checklists don’t account for the specific ways San Antonio’s climate and environment stress AC systems. Here are three failure points we see regularly in San Antonio that you’ll never find on a national checklist.
1. Refrigerant Line Insulation Degradation from UV Exposure
San Antonio gets an average of 300 sunny days per year. That UV radiation does a number on the black foam insulation wrapped around the copper refrigerant line running from your condenser to your house. After two or three years, the insulation gets brittle, cracks, and falls off in chunks. Once the line is exposed, two things happen: the refrigerant absorbs heat from the outside air, which forces the system to work harder and use more electricity, and condensation forms on the naked line, which drips onto the ground or the wall and causes staining and sometimes mildew.
Check the line insulation every May and again in September. If you see cracks, gaps, or sections where the copper is visible, the fix is simple and cheap: a technician can re-wrap the line in new foam insulation for under $100 in most cases. It’s one of the least expensive AC repairs you can pay for, and it pays for itself in energy savings within a single San Antonio summer.
2. Blower Wheel Dust Buildup from Cedar and Oak Pollen
San Antonio’s live oak and mountain cedar trees produce enormous amounts of pollen in the spring, and much of it ends up inside your indoor air handler. The blower wheel, which looks like a hamster wheel made of curved metal blades, collects dust and pollen on every blade. Over time, the buildup gets thick enough to throw the wheel out of balance, which causes vibration, noise, and eventually bearing failure in the blower motor. A blower motor that fails because of dust buildup is a $400 to $900 repair that could have been prevented with a $100 blower wheel cleaning.
If you hear a rumbling or vibration from the air handler that wasn’t there before, or if the airflow from your vents seems weaker than it used to be, the blower wheel may be the culprit. A licensed tech can inspect and clean the blower wheel during a routine maintenance visit. Ask for it specifically. Not every maintenance package includes blower wheel cleaning, and it’s the kind of thing that gets skipped unless the homeowner asks.
3. Capacitor Stress from Grid Voltage Fluctuations During Summer Peak Demand
San Antonio summers push the Texas electrical grid to its limits, and when the grid is stressed, voltage fluctuations are common. Those fluctuations hit your AC capacitor hard. The capacitor is the component that gives the compressor and fan motor a jolt of electricity to start up, and it’s rated for a specific voltage range. Repeated voltage sags and spikes cause the capacitor to degrade faster than it would in a more stable electrical environment. In our experience, the average capacitor in a San Antonio AC unit lasts three to five years, compared to six to eight years in areas with less grid stress.
A failing capacitor shows up in a few ways: the AC hums but won’t start, the fan turns but the compressor doesn’t, or the system runs for a few minutes and then shuts off unexpectedly. If any of these happen, a licensed tech can test the capacitor in minutes and replace it for $150 to $250. It’s one of the most common repairs we make in San Antonio, and it’s almost always a same-day fix if you catch it early. Our AC Repair in San Antonio page explains exactly how the process works and what to expect on a typical repair visit.
How to Document Your Own Maintenance for Warranty Claims
Here’s a truth most homeowners never learn until it’s too late: when a major component fails and you file a warranty claim, the manufacturer will ask for proof of maintenance. If you can’t show it, the claim may be denied, and you’ll be stuck paying $1,500 for a compressor that should have been covered. The solution is simple, and it’s the same transparency principle behind the before-and-after photos a good HVAC company takes on professional visits: document everything.
What to Document
- Every filter change. Take a photo of the old filter next to the new filter, with a date visible. If you can’t get a date stamp in the photo, write the date on a piece of paper and include it in the frame.
- Every drain line flush. A quick photo of the vinegar bottle next to the drain line access point is enough. Date it the same way.
- Every coil visual inspection. Snap a photo of the outdoor condenser coil and the indoor evaporator coil if accessible. These photos create a time-stamped record of the condition of the unit over time.
- Every professional service visit. Keep the invoice. The invoice should list the work performed, the parts used, and the technician’s name. If the company doesn’t provide a written invoice with that level of detail, ask for one.
How to Store It
The simplest method is a dedicated album on your phone labeled “AC Maintenance.” Every photo goes in there with a text note added to each one. If you want more structure, create a simple spreadsheet with columns for date, task, supplies used, and a link to the photo. The format doesn’t matter; the consistency does. Five minutes of documentation after every maintenance task is all it takes to build a warranty case that most manufacturers will accept without argument.
Red Flags During Self-Inspection: 24 Hours vs. 30 Days
When you’re inspecting your system, some findings are urgent and some are not. Here’s how to tell the difference, based on what we see in San Antonio service calls.
Call Within 24 Hours
- Water pooling around the indoor air handler. This means the drain line is fully clogged and the float switch may or may not be working. Left unaddressed, this causes water damage to floors, ceilings, and drywall. Call immediately.
- Any electrical burning smell from the unit or the vents. This is a fire hazard, or at minimum a component that’s actively overheating. Turn the system off at the thermostat and the breaker, and call a tech.
- Loud buzzing from the condenser with no fan movement. The compressor is likely getting power but the fan motor or capacitor is dead. Running the system in this state can destroy the compressor, and that’s a $2,000 repair instead of a $200 one.
- Ice forming on the copper refrigerant line or the indoor coil. Ice means the coil is freezing, usually due to low airflow or low refrigerant. Running the system frozen causes liquid refrigerant to reach the compressor, which is a compressor killer.
- The system trips the breaker repeatedly. A breaker that trips once may be a fluke. A breaker that trips twice is a short or an overload, and continuing to reset it risks an electrical fire.
Schedule Within 30 Days
- Weak airflow from all vents. This usually points to a dirty blower wheel, a failing blower motor, or collapsed ductwork. It’s not an emergency, but it’s reducing your comfort and driving up your electric bill every day.
- A gradual increase in cooling time. If the house used to cool from 78 to 72 in 30 minutes and now takes an hour, something is losing efficiency. Low refrigerant, a dirty coil, or an aging compressor are the likely culprits.
- Unusual but not alarming noises. A new rattle, squeak, or vibration that doesn’t keep you awake at night should be checked within a month. Early diagnosis often turns a $300 motor replacement into a $100 bearing repair.
- Moisture or staining around the indoor unit that comes and goes. This suggests a slow drain line clog or a small condensation leak. Catch it before it becomes a standing-water problem.
- The system is more than ten years old with no records. If you inherited an older system or you’ve never had it professionally inspected, schedule one now. The technician will identify any developing problems and give you a realistic sense of how much life the unit has left.
What a Professional Inspection Should Include (and What It Should Cost)
A proper professional AC inspection in San Antonio should take about an hour and cover far more than what you can see from a visual check. Here’s what to expect, and what it should cost.
What the Technician Should Do
- Check refrigerant pressure and superheat. This confirms the system is charged correctly. Low refrigerant means a leak somewhere, and a good tech will look for the leak rather than just topping off the system.
- Test the capacitor. The tech uses a multimeter to check the capacitance rating against the capacitor’s label. If it’s reading more than 10 percent below spec, it should be replaced proactively. A capacitor that tests fine today can still fail in July, but a weak reading is an unmistakable early warning.
- Inspect the contactor. The contactor is the relay that turns the compressor and fan on and off. Pitted or burned contacts mean the contactor is on its way out, and a $75 replacement is far better than a failed contactor taking out a compressor.
- Check the amp draw on the compressor and fan motors. High amp draw means the motor is working harder than it should, usually due to bearing wear, dirty coils, or low refrigerant. The tech should note this in the inspection report.
- Flush the condensate drain line. If the tech doesn’t do this during the inspection, ask for it. This is one of the most valuable parts of a preseason tune-up in San Antonio.
- Inspect the coils and blower wheel. The tech should visually inspect the indoor coil for dirt and the blower wheel for dust buildup, and recommend cleaning if needed.
- Test the thermostat and safety switches. Make sure the system starts, runs, and shuts off correctly, and that the float switch properly kills the system if the drain line backs up.
- Check electrical connections and wiring. Loose connections cause resistance, heat, and premature component failure. The tech should tighten any loose terminals and inspect for signs of overheating.
What It Should Cost
In San Antonio, a thorough preseason AC inspection typically costs between $75 and $150. Some companies offer lower promotional pricing, but those inspections are often abbreviated. Ask what the inspection includes before you book. Halden Heating and Air San Antonio gives you a written price before any work starts, and our inspection covers everything on the list above, not just a filter change and a glance at the condenser. If you’re weighing the cost, consider this: a $100 inspection that catches a $250 capacitor before it fails in July has already paid for itself almost three times over. This kind of annual inspection is also the best way to keep a system running long enough to make the most of a future AC Installation in San Antonio, because the better you maintain the old unit, the more life you get before replacement day arrives.
Common Mistakes to Avoid
- Using a generic maintenance calendar. A checklist that tells you to inspect the coil in October is useless in San Antonio, where October is one of the mildest months of the year. The critical work happens in February and March, before the first sustained heat wave, not after it.
- Skipping the filter during “mild” months. San Antonio has no truly mild months when it comes to pollen. Even in January, when the AC isn’t running much, pollen and dust are circulating through the system and coating the filter. A filter that’s been sitting since October is already choking airflow by March.
- Using a pressure washer on the condenser coil. The fins on an AC condenser are thin enough to bend with water pressure alone. A bent-coil repair runs $200 to $500 and is entirely preventable. Garden-hose pressure only, and only with the breaker off.
- Ignoring the drain line until water appears on the floor. By the time the float switch trips or the pan overflows, the line has been clogging for weeks or months. A monthly vinegar flush costs pennies and takes ten minutes. Waiting until there’s water means a $300 emergency call instead of a $1 preventive habit.
- Closing supply vents in unused rooms to “save energy.” This backfires with modern AC systems. Closing vents increases static pressure in the ductwork, which makes the blower work harder and can cause duct leaks and premature motor failure. Keep vents open and use a programmable thermostat instead.
- Covering the outdoor condenser completely during the off-season. Full covers trap moisture inside the unit, which causes rust on exposed metal components and gives rodents a sheltered place to nest and chew wiring. If you want to keep leaves out, use a board propped several inches above the top of the unit, or skip the cover entirely. Most San Antonio AC units do fine sitting uncovered all winter.
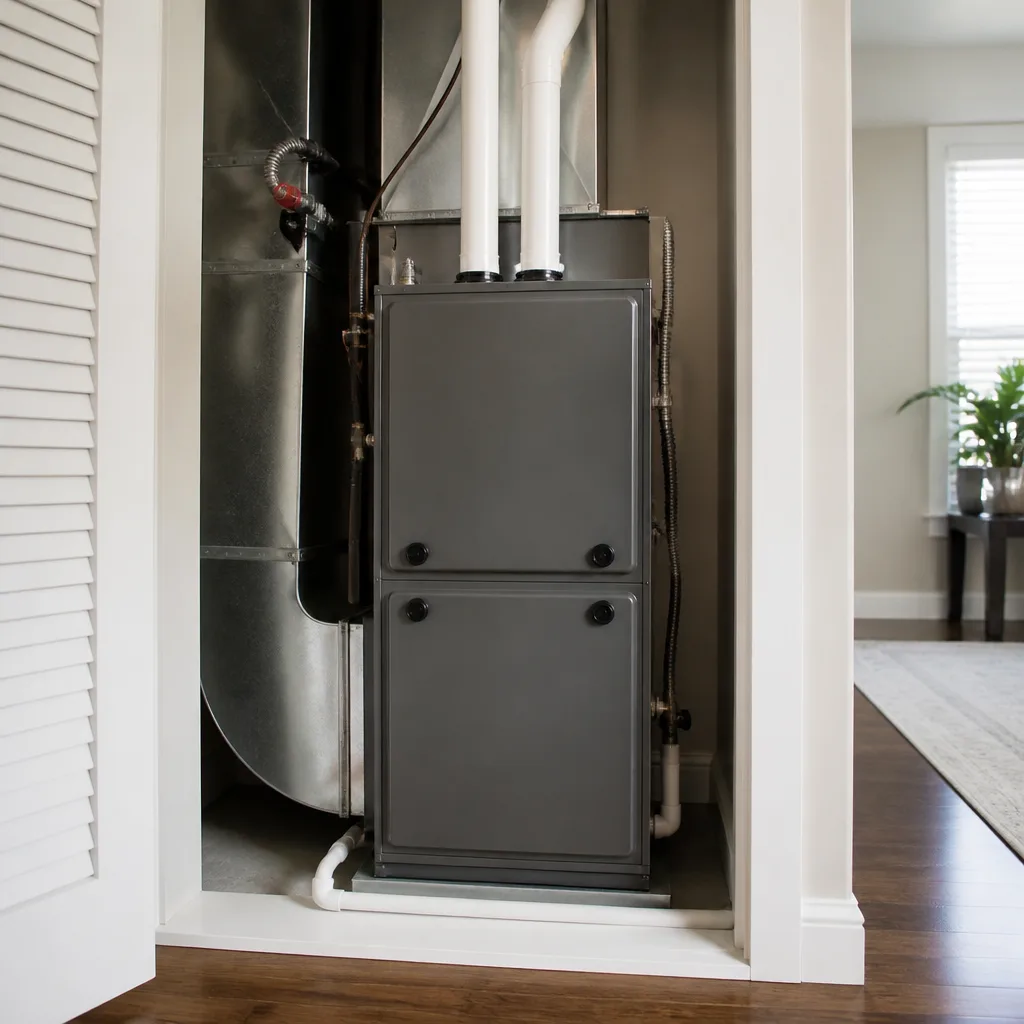
- Handling a furnace inspection the same way as an AC inspection. If you have a gas furnace in San Antonio, the maintenance needs are different, especially around the heat exchanger and burner assembly. A cracked heat exchanger is a carbon monoxide risk, and it’s not something a visual inspection from the homeowner can catch. Use the same professional-inspection approach as the AC side via our Furnace Repair in San Antonio service page.
When to Call a Professional
If any of these situations apply, stop the DIY work and call a licensed technician: water pooling near the indoor unit, refrigerant hissing, electrical burning smells, repeated breaker trips, ice on the copper line, compressor buzzing without the fan running, or any capacitor, blower, or refrigerant issue. These are the scenarios where a wrong guess costs more than the repair would have in the first place. Halden Heating and Air San Antonio offers free estimates in San Antonio, and our technicians come with a written price before any work starts, so you’ll never be surprised at the cost. Call (903) 623-6784 if you’re seeing any of the red flags from the section above. You can also see how our repair process works on the Halden Heating and Air San Antonio home page, where you’ll find transparent pricing details and the guarantee terms that apply to every visit.
Frequently Asked Questions
A standard professional AC inspection in San Antonio typically costs between $75 and $150, depending on the company and the depth of the inspection. A more involved tune-up with coil cleaning or blower wheel cleaning may run $150 to $300. Most homeowners who stay on a consistent maintenance schedule spend under $200 per year on professional service plus another $100 to $200 on filters and DIY supplies. Call (903) 623-6784 for an exact quote from Halden Heating and Air San Antonio, and we’ll give you a written price before any work starts.
During peak cooling season, which runs roughly March through October in San Antonio, replace your filter every 30 days. During the milder winter months, every 60 to 90 days is usually sufficient. Homes with pets, high pollen exposure from live oaks and mountain cedars, or dusty construction nearby should consider replacing the filter every two to three weeks during spring pollen season.
Can I do my own AC maintenance, or do I need a professional?
You can safely handle filter changes, drain line flushes, soft-pressure coil rinses, and visual inspections yourself. Anything involving refrigerant,
See the difference
 Before
 After
After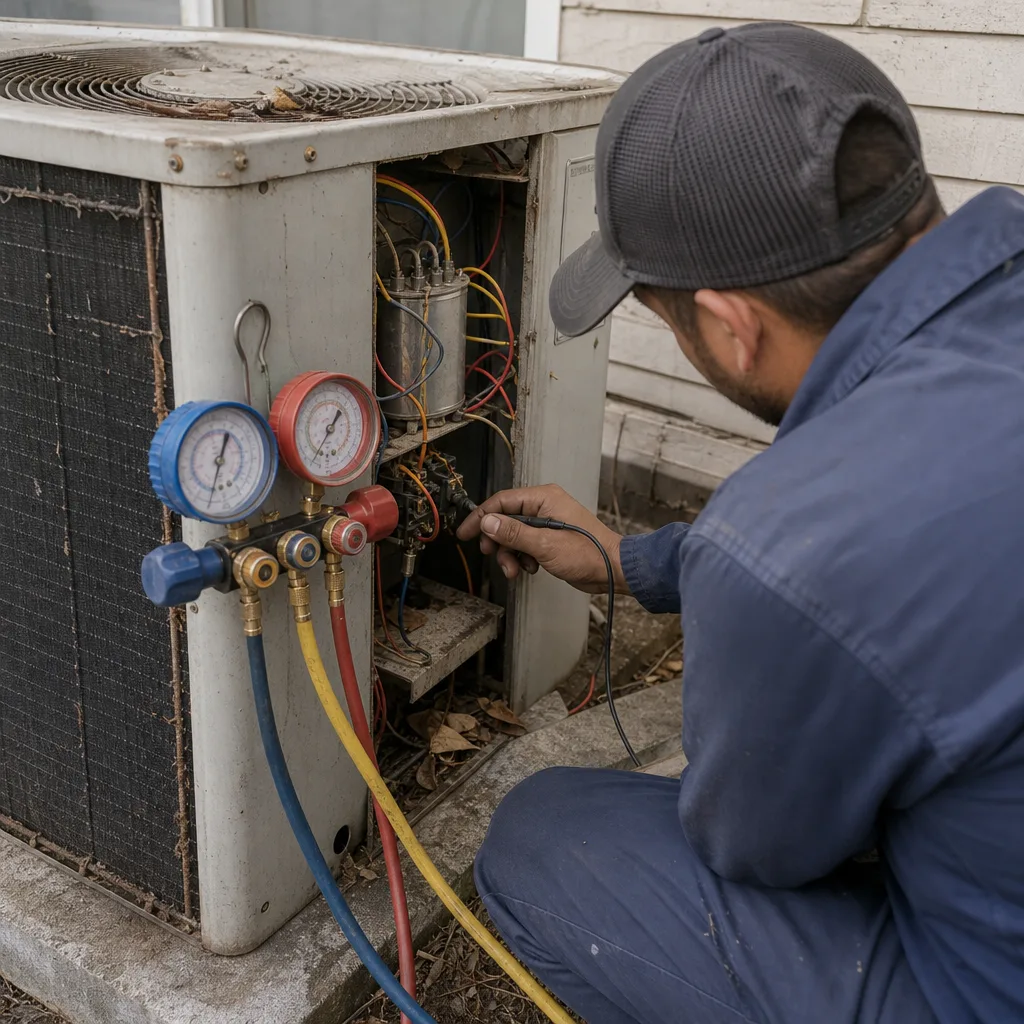 Before
 After
After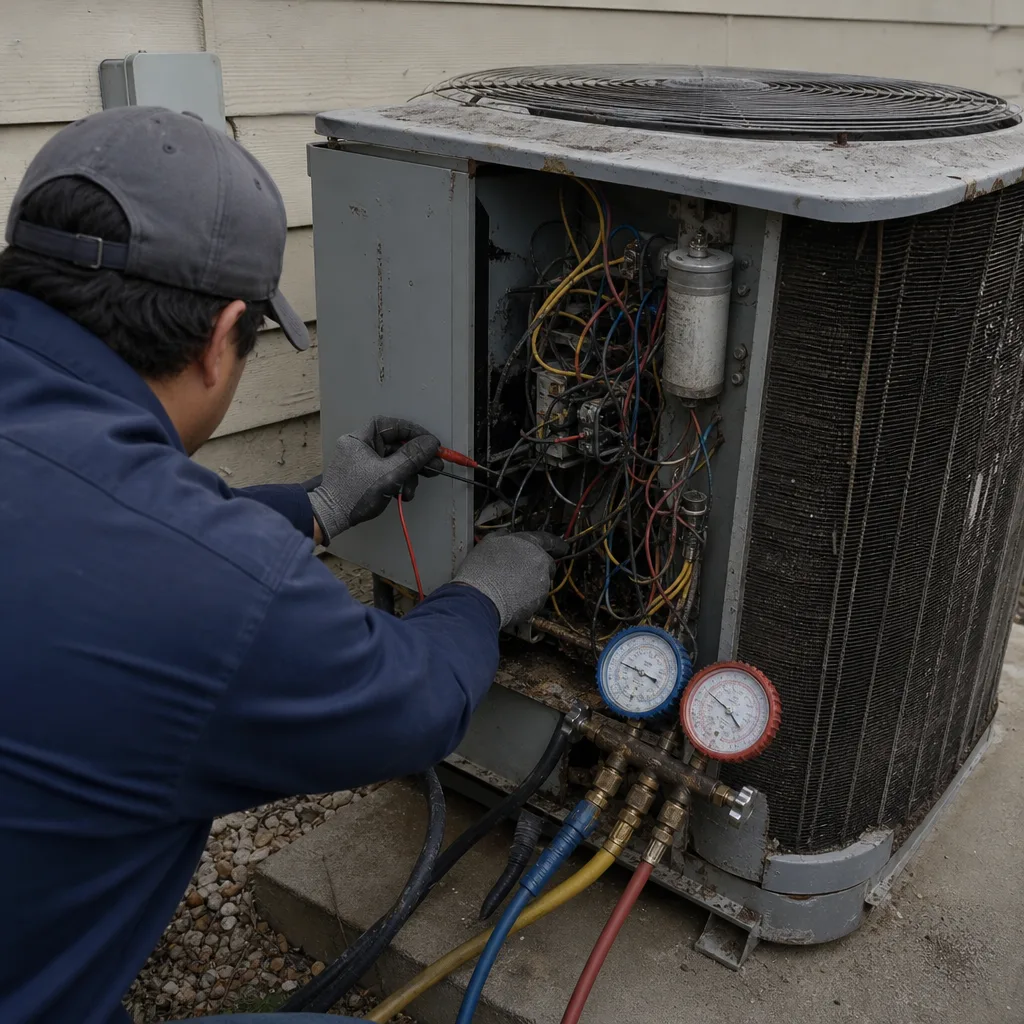 Before
 After
After