
Last updated October 16, 2026
 AC repair
 Furnace & heating
 Heat pumps
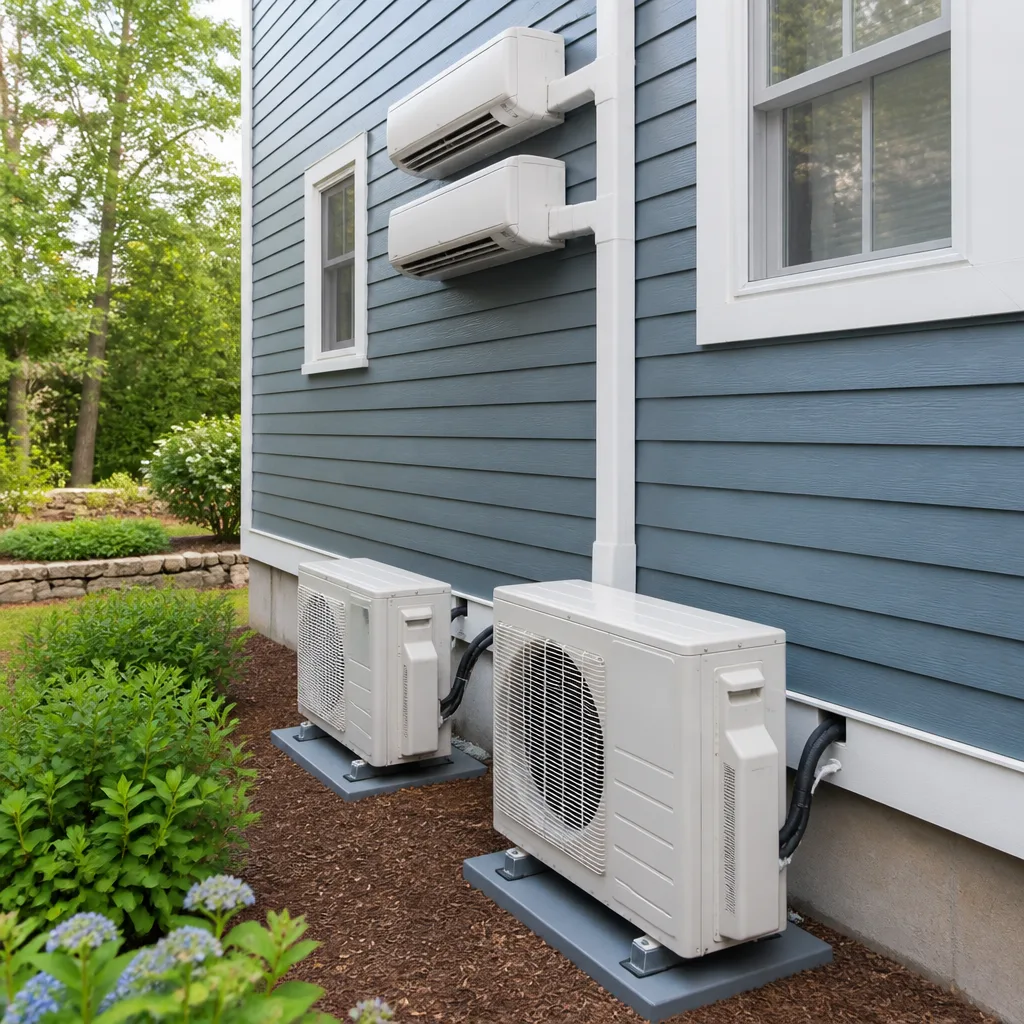 Ductless mini splits
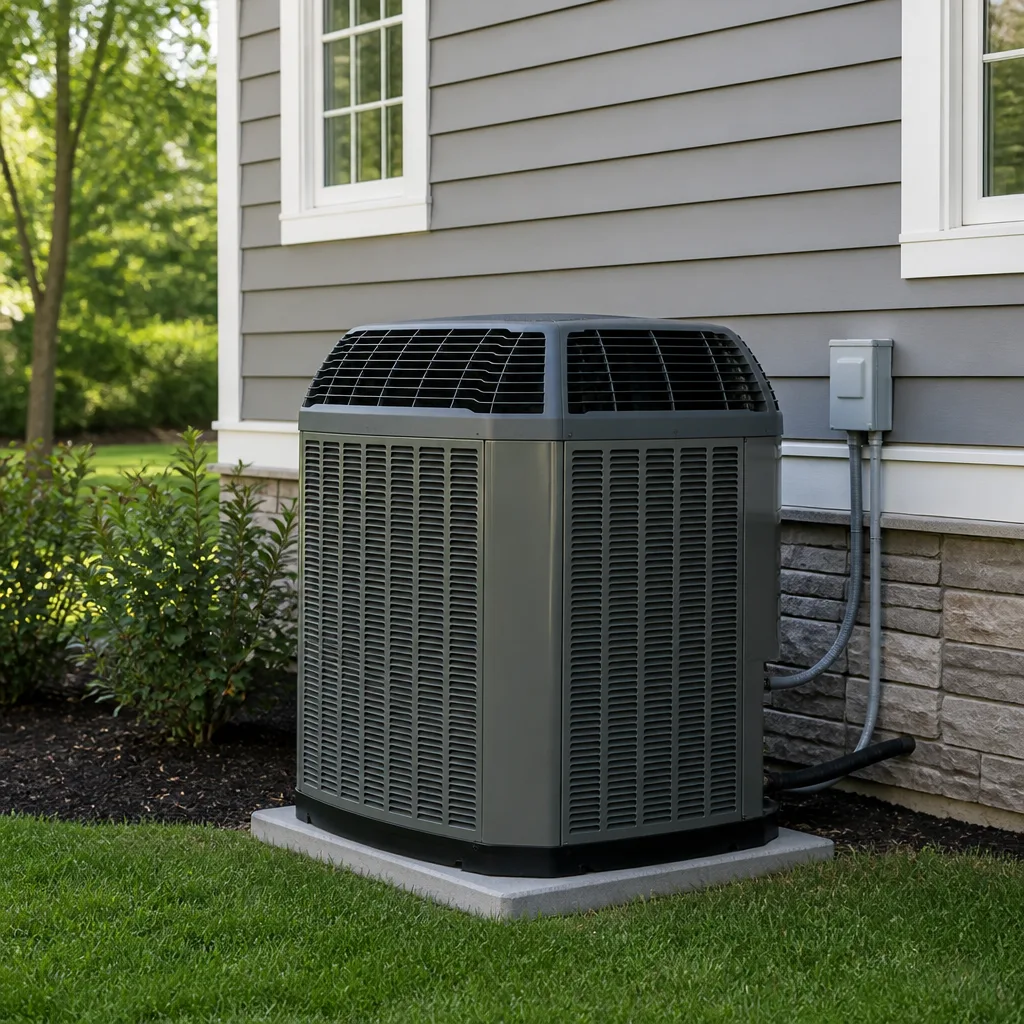 Trane
Trane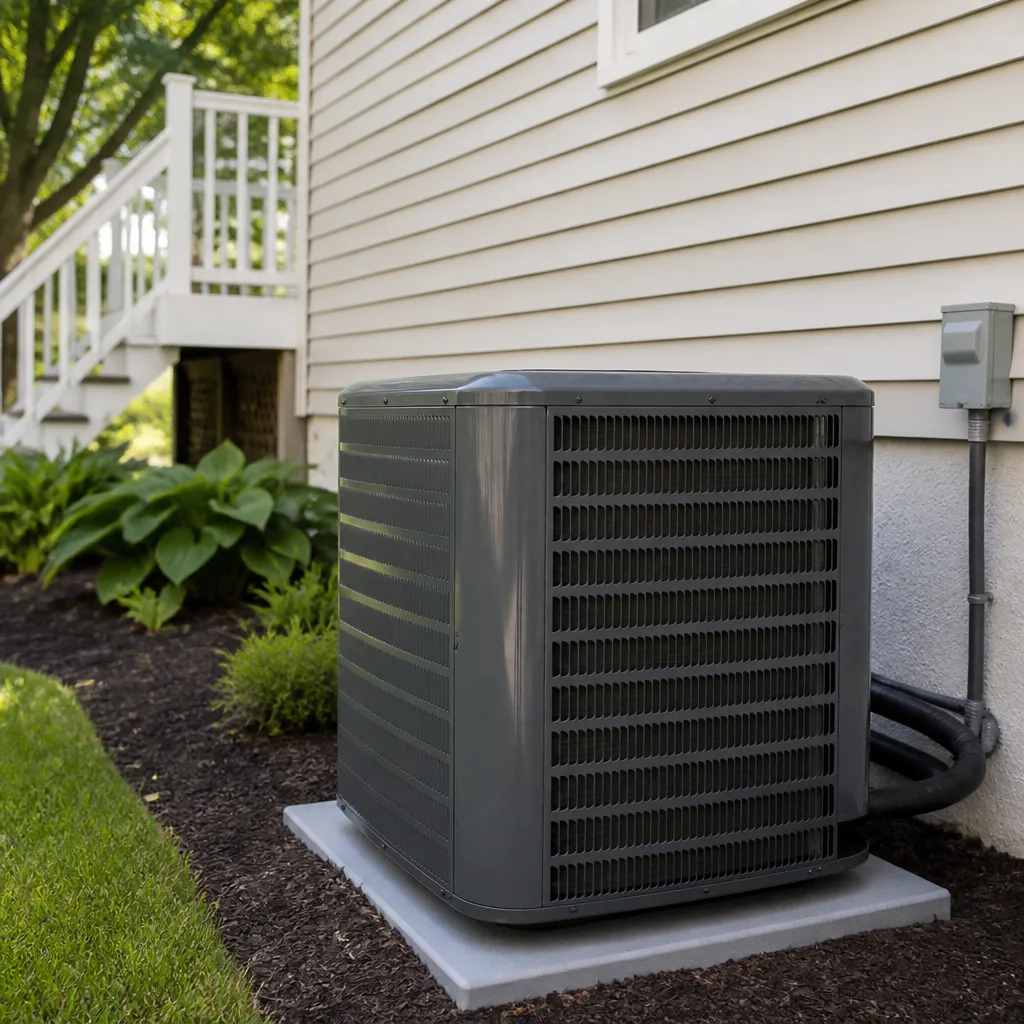 Goodman
Seasonal tune-up and full diagnostic on your Carrier, Trane, or Goodman system - readings shown to you before any repair is proposed
Diagnosis first, numbers second - you approve the repair price before a single part goes in.
Get your free estimateDIY vs Professional HVAC: The San Antonio Homeowner’s Decision Guide
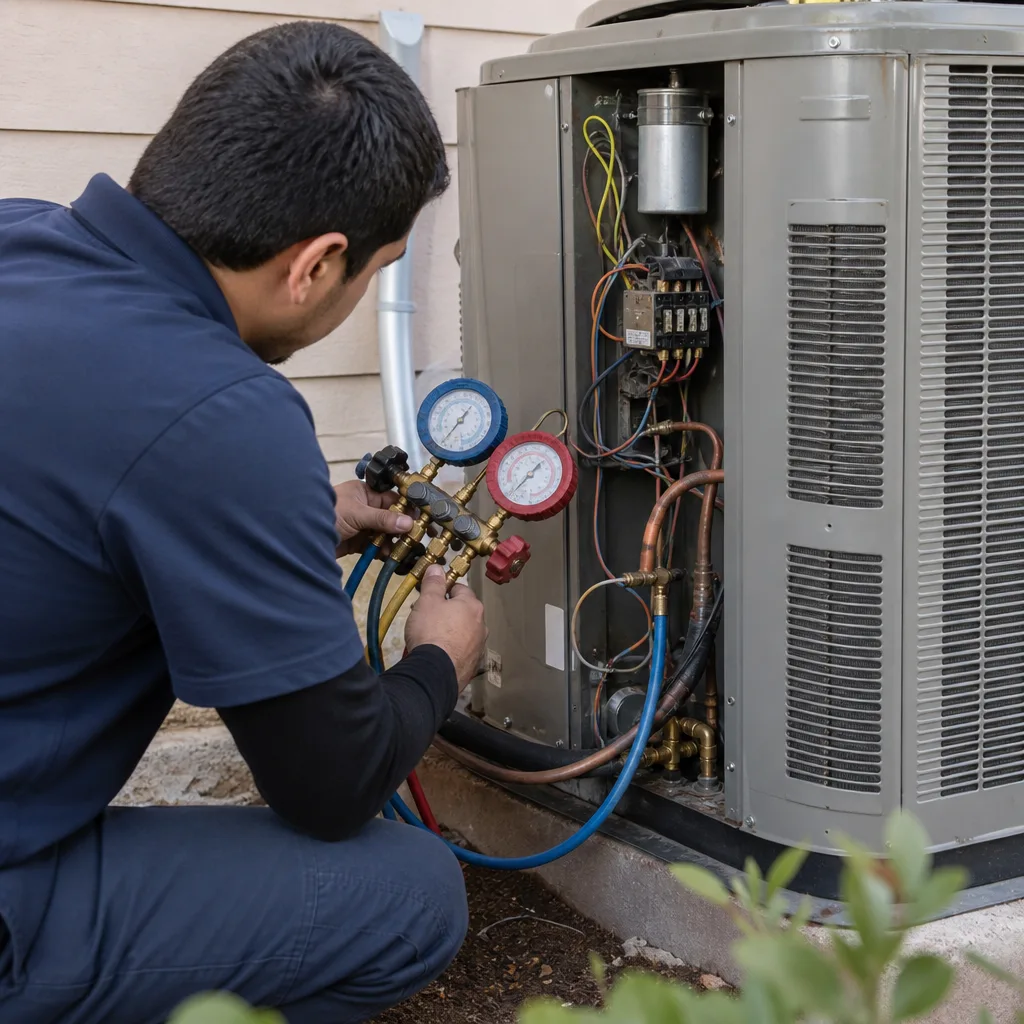
Refrigerant, the fluid that actually moves heat out of your home, is federally regulated under Section 608 of the Clean Air Act. In Texas, you cannot legally purchase it without an EPA certification. That single fact eliminates roughly 40% of YouTube HVAC repair tutorials from the “actually doable” category for San Antonio homeowners. This guide and our more guides & resources draw the legal and practical line clearly, because the DIY versus professional debate is not really about saving money. It is about liability: voided warranties, failed home sale inspections, insurance claim denials, and a summer day with no AC when a well-intentioned repair goes wrong. By the end, you will know exactly which tasks are safe to handle yourself, which ones are legally off-limits, and where your time is better spent calling a pro.
Styles & brands we work with
Quick Answer
San Antonio homeowners can safely DIY basic HVAC maintenance including filter replacement, condensate drain flushing, thermostat batteries, and outdoor unit debris clearing. But any repair that touches refrigerant, electrical components inside the cabinet, gas lines, or compressor wiring is legally or warranty-prohibited for a non-certified person. In practical terms, 30 to 45 minutes of monthly DIY maintenance is worth far more than a risky 3-hour YouTube repair attempt that could void a $5,000 warranty or cause a refrigerant leak that costs $400-plus to address properly-see our HVAC Cost Breakdown: The San Antonio Homeowner’s Reference for 2026 for typical pricing.
Table of Contents
- Where Texas Law Draws the Legal Line
- The Safe DIY List: What San Antonio Homeowners Can Actually Do
- The Off-Limits List: Why Those Repairs Belong to a Pro
- The Warranty Clause Most Homeowners Miss
- How South Texas Conditions Make DIY Harder Than Online Tutorials Suggest
- The Real Math: DIY Maintenance vs. a Professional Tune-Up
- When a Pro Is Your Best Diagnostic Tool, Not Just a Repair Route
- Common Mistakes to Avoid
- When to Call a Professional
- Frequently Asked Questions
- The Bottom Line
Where Texas Law Draws the Legal Line
The Clean Air Act Section 608 is a federal regulation, which means it applies in San Antonio exactly as it applies in Chicago, Phoenix, or anywhere else in the country. It prohibits the sale of refrigerant to anyone who does not hold an EPA Section 608 certification. Homeowners cannot buy R-410A or R-454B. They cannot legally add refrigerant to a system. They cannot recover refrigerant from a system before opening the line. And they cannot legally vent refrigerant into the atmosphere, which carries civil penalties in the tens of thousands of dollars per day of violation. This is not a technicality. When a San Antonio homeowner opens a refrigerant line on a DIY repair, they are committing a federal violation and releasing a regulated substance into the air.
Texas residential code also requires that any work involving gas piping, gas appliance connections, or combustion venting be performed by a licensed contractor. For San Antonio homes with gas furnaces, a DIY repair that touches the gas valve, manifold, burners, or flue is both illegal and genuinely dangerous. A gas leak in an attic or utility closet is not something a YouTube video prepares you to handle. Carbon monoxide is odorless, and a furnace that is “working” after a DIY repair can still be producing it at low levels all night. Local code enforcement in San Antonio, including inspections triggered by home sales, looks specifically for unpermitted gas and refrigerant work, as covered in our guide to HVAC Permits, Codes & Inspections in TX: What You Need to Know. When those problems surface during a real estate transaction, the seller pays to fix them, often at a premium because the buyer’s inspector flagged it.
Homeowner’s insurance is the second liability layer. Most policies contain clauses that deny claims for damage caused by “unpermitted work” or “work performed by an unqualified person.” If a DIY repair on an AC compressor causes a fire, and the fire investigator determines the cause was improper electrical work by the homeowner, the claim can be denied. We have seen this specific scenario in San Antonio’s older neighborhoods, where 1990s-era condensers with original wiring are common and homeowners try to replace a capacitor or contactor without knowing how to discharge stored voltage. What started as a $40 part becomes a denied claim and a full system replacement out of pocket.
At Halden Heating and Air San Antonio, every repair touches these systems with the proper certifications, the proper recovery equipment for refrigerant, the proper gas leak testing gear, and the proper liability insurance. The Halden Heating and Air San Antonio home team serves neighborhoods across the city, from Stone Oak to Alamo Heights to Helotes, and the legal line we have just described applies in every one of them.
The Safe DIY List: What San Antonio Homeowners Can Actually Do
Here is the honest answer: homeowners can handle about 20% of what HVAC maintenance involves, and that 20% genuinely matters for system health. These tasks require no special tools beyond a screwdriver, a shop vacuum, and an hour of your time. They do not touch refrigerant, electrical components, gas lines, or sealed system internals. Here are the four tasks we recommend doing yourself, with specific instructions.
1. Filter Replacement (Monthly During Peak Season)
San Antonio’s cooling season runs roughly from March through October, often longer. During those months, your AC filter catches dust, pollen, pet dander, and the fine clay dust that blows in from the Hill Country during dry spells. A clogged filter forces the blower motor to work harder, reduces airflow across the evaporator coil, and raises your electric bill. In severe cases, a completely blocked filter causes the evaporator coil to freeze over, which then melts and leaks water into the emergency drain pan.
How to do it: Locate the filter slot, which is usually in a return air grille in a hallway ceiling or in a slot near the indoor air handler. Note the arrow on the filter frame. It points toward the unit, in the direction of airflow. Slide the old filter out and inspect it against a light source. If you cannot see light through it, it was overdue. Slide the new filter in with the arrow pointing the correct direction. Write the date on the filter frame with a permanent marker so you know when it went in.
Cost: A basic 1-inch MERV 8 filter is $4 to $8 at any San Antonio hardware store. A 4-inch media filter, which fits some newer Carrier and Trane systems, runs $15 to $25 and lasts 6 to 12 months. Compared to the $250 to $600 blower motor replacement that a chronically restricted filter can cause, this is the highest-value 60 seconds in home maintenance.
2. Condensate Drain Flush (Every 2 to 3 Months in Summer)
Your AC removes humidity from the air as it cools. That moisture drips from the evaporator coil into a drain pan, then flows through a PVC pipe to the outside of your house or into a plumbing drain. In San Antonio’s humid months, especially June through September, algae and mold grow inside that PVC pipe. When the line clogs, water backs up and overflows. In an attic installation, that overflow can damage ceiling drywall. In a closet installation, it can warp flooring or baseboards.
How to do it: Find the condensate drain line, usually a white PVC pipe with an open T-shaped fitting near the indoor unit. Pour about 1 cup of white vinegar or a commercial condensate line cleaner into the opening. Let it sit for 30 minutes. Then flush with 2 to 3 cups of warm water. If the water drains quickly, the line is clear. If it backs up, do not pour more in; call a pro who can blow the line out with compressed air or nitrogen. A persistent clog often signals a deeper blockage that vinegar will not clear.
Cost: A gallon of white vinegar is under $4 at H-E-B. A commercial condensate cleaner like Viper or SimpleAir is $8 to $15 and lasts multiple applications. A service call to clear a fully blocked line in San Antonio typically runs $100 to $200, and a ceiling repair from an overflow starts around $400.
3. Thermostat Battery Replacement and Settings Check (Twice a Year)
Dead thermostat batteries are the cause of a surprising number of “my AC won’t turn on” calls. The thermostat goes blank or shows a low battery symbol, and the system simply does not respond. This is a 5-minute fix that any homeowner can handle, and it is frustrating to watch someone pay a service fee for it. Spring and fall are the right times to swap batteries, right before the heavy cooling and heating seasons begin.
How to do it: Pop the thermostat faceplate off the wall, usually by pulling gently from the bottom or pressing a release tab. Remove the old batteries, usually 2 AA or 2 AAA. Replace with fresh ones, noting the polarity marked in the battery compartment. Snap the faceplate back on. While you are there, check the schedule settings. In San Antonio, a setback of 7 to 8 degrees during the workday can cut cooling costs meaningfully, and a smart thermostat like an Ecobee or Nest handles that automatically, often with CPS Energy rebate eligibility.
4. Outdoor Unit Debris Clearing (Monthly During Spring and Fall)
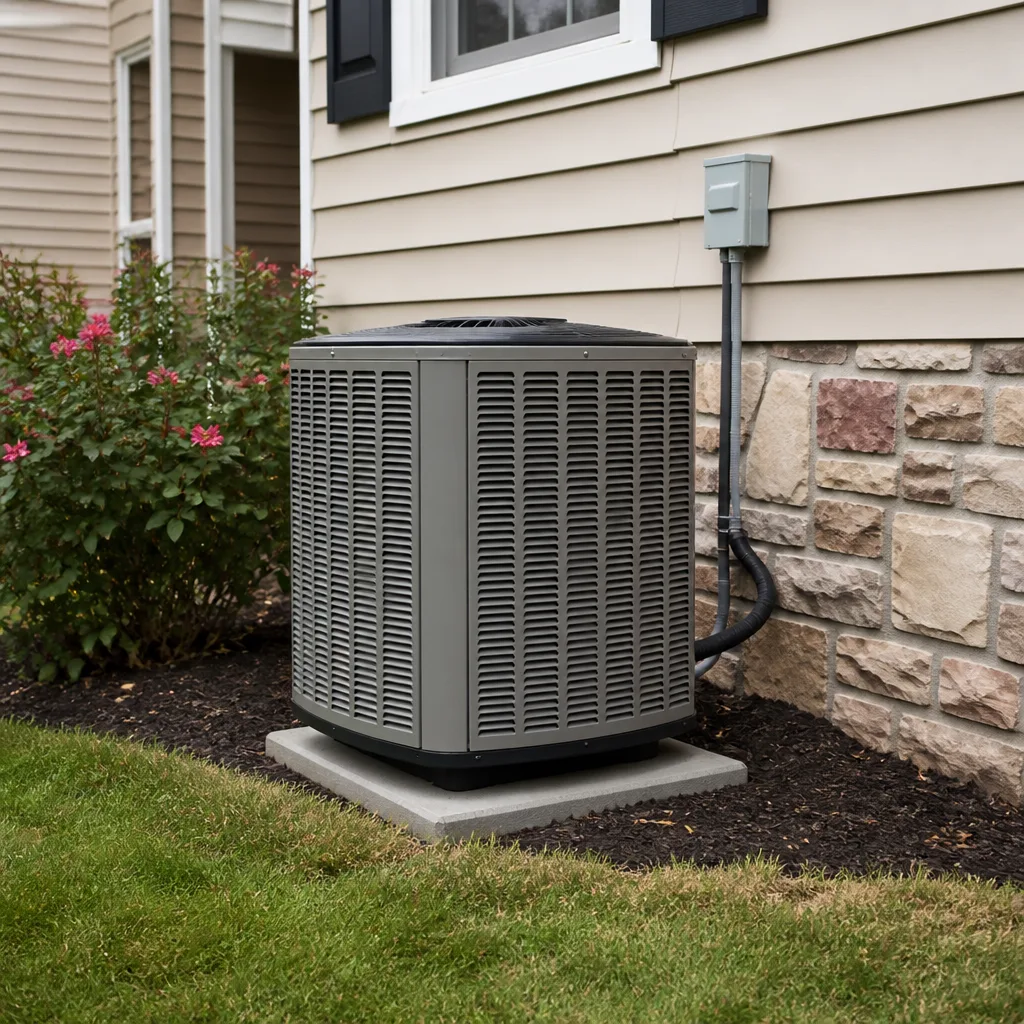
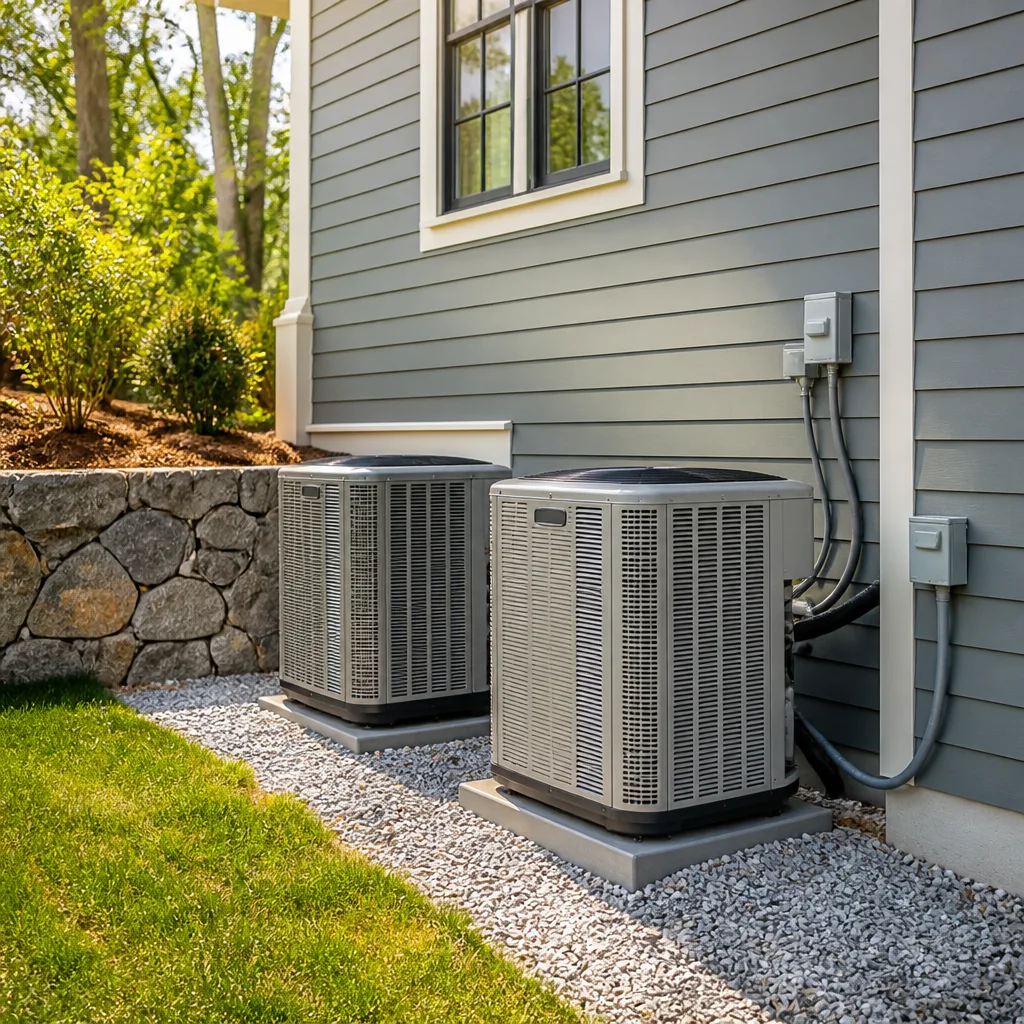
The outdoor condenser unit sits in your yard, usually on the side or back of the house, and it needs airflow. In San Antonio, the biggest culprits are live oak leaves, cedar bark, grass clippings from mowing, and cottonwood fluff in late spring. When debris builds up on the coil, the system cannot reject heat efficiently. Condenser pressures rise, cooling capacity drops, and energy consumption climbs. A severely blocked coil can overheat the compressor and trigger a safety shutdown.
How to do it: Turn off power to the unit at the electrical disconnect box mounted on the wall next to it. Remove any visible debris from the top grille. Use a garden hose with a normal spray nozzle to rinse the coil fins from the inside out, not a pressure washer, which bends the delicate aluminum fins. Keep the hose stream at a 45-degree angle and work top to bottom. Trim back any vegetation within 2 feet of the unit. Clear a 12-inch clearance on all sides and at least 5 feet of clearance above the unit. Once it is dry, restore power and verify that the fan spins freely.
Cost: Zero dollars, if you already own a hose. The value is in the energy savings: a clean coil operates 5 to 10% more efficiently than a heavily clogged one, which on a San Antonio summer electric bill of $250 to $400 per month translates to $15 to $40 per month in savings.
The Off-Limits List: Why Those Repairs Belong to a Pro
Here is where the DIY conversation gets serious. These are the tasks that online tutorials sometimes present as “not that hard” but which carry real legal, warranty, and safety consequences for San Antonio homeowners. We are not saying this to protect our service revenue. We are saying it because we have repaired the aftermath.
Refrigerant Handling: Legally Off-Limits
As covered above, you cannot legally purchase refrigerant in Texas without an EPA Section 608 certification. You also cannot legally open the sealed refrigeration system: the lines, the evaporator coil, the condenser coil, the compressor, the metering device, or the service valves. A refrigerant recharge, which means adding coolant that your system has lost due to a leak, is a professional-only task, and a proper technician will not just “top it off.” A system that is low on refrigerant has a leak, and that leak must be located and repaired. Simply adding refrigerant to a leaking system is wasteful, expensive, and increasingly restricted under newer EPA regulations. In San Antonio, a refrigerant leak repair involving line set replacement or coil replacement typically costs $400 to $1,800 depending on location and severity. A recharge alone without leak repair is not a service we recommend or perform, because it will leak out again, usually within weeks.
Electrical Components: Dangerous and Warranty-Voiding
Inside both the indoor air handler and the outdoor condenser are electrical components that operate at 240 volts: capacitors, contactors, control boards, blower motors, and compressor terminals. Capacitors store voltage even when the system is powered off. A homeowner who opens the condenser cabinet and touches a charged capacitor receives a shock that can be fatal. This is not hyperbole. Capacitor replacement is one of the most common “DIY-friendly” tutorials on YouTube, and it is one of the most dangerous for a non-electrician. Certified techs discharge capacitors with a resistor before touching them. We also replace them with parts matched to the system’s specifications, because a wrong-size capacitor will burn out a compressor motor in a matter of weeks.
Warranty implications are equally serious. Carrier, Trane, Lennox, Goodman, Rheem, York, Daikin, Bryant, and American Standard all include language in their warranty documents stating that unauthorized repairs, modifications, or service by non-certified persons void the warranty. When a homeowner replaces a capacitor themselves and the compressor fails six months later, the manufacturer’s compressor warranty, which could have been worth $1,500 to $3,000, is worthless. We have seen this exact scenario in San Antonio more times than we can count.
Gas Furnace Components: Deadly If Done Wrong
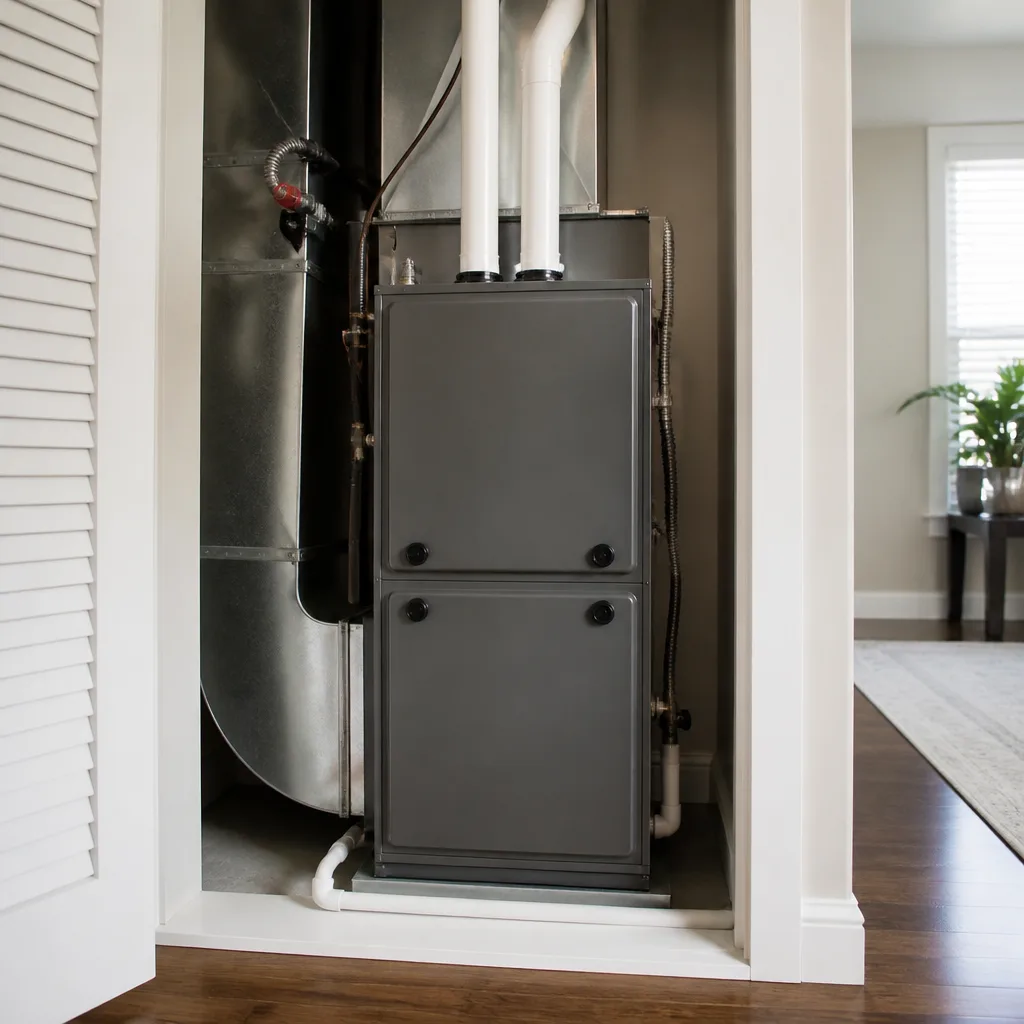
Gas furnaces burn natural gas to produce heat, and they vent combustion byproducts, including carbon monoxide, through a flue. The gas valve, burners, heat exchanger, inducer motor, and vent piping are all part of a system that must be sealed correctly. A homeowner attempting to “fix” a furnace ignition problem might create a situation where gas escapes into the living space or combustion gases are not properly vented. Carbon monoxide poisoning kills hundreds of Americans every year, and it is entirely preventable. Furnace repair in San Antonio should always be handled by a licensed professional who tests for gas leaks, verifies proper combustion, and checks carbon monoxide levels. Our Furnace Repair in San Antonio page covers what a proper furnace service call includes, and none of it belongs in a DIY context.
Compressor Replacement: The Heart of the System
The compressor is the pump that circulates refrigerant through the system. Replacing a compressor involves recovering refrigerant, brazing copper lines with a torch, installing a new filter drier, pressure testing with nitrogen, pulling a deep vacuum to remove moisture, and recharging with the correct refrigerant by weight. That is a 4 to 6 hour job for a certified technician with specialized tools. A compressor replacement in San Antonio typically costs $1,800 to $3,200 depending on system size and brand. No part of that process is legal or feasible for a homeowner, and any attempt to “save money” on a compressor replacement ends with a system full of contamination that costs more to fix than the compressor itself was worth.
The Warranty Clause Most Homeowners Miss
Here is the hidden cost of a pure DIY maintenance strategy: most HVAC manufacturer warranties require documented annual professional maintenance to remain valid. This clause is buried in the fine print of the warranty document, often on page 12 of a 20-page PDF, and most homeowners never read it. The language typically says something like: “This warranty is void if the unit is not maintained annually by a licensed HVAC contractor.” Some manufacturers are stricter: Goodman, for example, requires that the installing contractor register the warranty within 60 days of installation, and some extended labor warranties require proof of annual maintenance at the time of a claim. Carrier, Trane, Lennox, Rheem, and York all have similar requirements.
What does this mean in practice? A homeowner with a 2-year-old system has a compressor failure. The compressor is covered under a 10-year parts warranty. The manufacturer asks for maintenance records. The homeowner has none, having handled filter changes and coil rinsing themselves. The manufacturer denies the claim. The homeowner now pays $1,800 to $3,200 for a compressor replacement that should have been covered. The money saved by skipping a $120 annual tune-up for two years is $240. The lost warranty coverage is worth ten to fifteen times that.
We do not say this to pressure anyone into a maintenance plan. We say it because it is a real, documented clause that cost real San Antonio homeowners real money.
Documented professional maintenance also matters for home sale inspections. When a buyer’s home inspector in San Antonio asks for HVAC service records, which they increasingly do, a folder with annual maintenance invoices from a licensed contractor tells the buyer something different than a folder with nothing. It tells them the system was cared for by someone who could verify its condition, and it gives the seller negotiating leverage. In a competitive real estate market like San Antonio’s, that folder can be worth several thousand dollars in the transaction.
How South Texas Conditions Make DIY Harder Than Online Tutorials Suggest
Most HVAC tutorials are filmed in a studio or a mild-climate garage. They do not account for what it is like to work on an outdoor condenser in San Antonio in August, when the ambient temperature is 100°F and the heat radiating off the unit itself pushes the working temperature to 115°F or more. Heat exhaustion is a real threat. The sun on a South Texas afternoon makes metal components too hot to touch without gloves, and the concrete pad the unit sits on radiates heat upward. A 30-minute “easy” coil cleaning turns into a 2-hour ordeal in direct sun, and the homeowner making the attempt risks dizziness, dehydration, and heat stroke. We advise our own technicians to schedule outdoor work before noon or after 6 p.m. in July and August, and they are acclimated to the heat. The average homeowner is not.
Attic work is even more dangerous. San Antonio homes, particularly those built before 2010, commonly have the air handler and ductwork in an unconditioned attic. In August, that attic reaches 130°F to 150°F. Crawling through blown-in fiberglass insulation in that heat, while trying to locate a condensate pan or inspect duct connections, is physically taxing for a professional. For a homeowner without proper protective gear, hydration, and heat exposure training, it is genuinely hazardous. We have seen homeowners begin an attic inspection and come down after 15 minutes with their heart rate at dangerous levels. That is not a failure of will; it is a physiological response to extreme heat.
Another factor specific to South Texas: UV degradation of line insulation. The copper refrigerant lines that run from the outdoor condenser to the indoor coil are wrapped in foam insulation. In San Antonio’s intense sun, that foam degrades faster than it does in most of the country, cracking and crumbling within 5 to 8 years. This matters because degraded insulation reduces system efficiency, but it also matters for a DIY assessment: a homeowner looking at their refrigerant lines cannot tell the difference between insulation that is cosmetically worn and insulation that is allowing meaningful heat gain. A professional who has seen hundreds of San Antonio systems has a baseline for what is normal in this climate and can measure subcooling and superheat to determine actual system performance. The homeowner’s visual inspection is a guess.
And then there is the dust. Hill Country cedar pollen in January, live oak pollen in March, and fine clay dust during dry spells all coat condenser coils faster in San Antonio than in most cities. A coil that looks “fine” at a glance can be 30% blocked with embedded dust that water from a garden hose will not fully remove. Professional coil cleaning uses specialized cleaners and a controlled water spray that removes the embedded layer without damaging fins. The homeowner’s hose job removes the surface layer only.
The Real Math: DIY Maintenance vs. a Professional Tune-Up
Let’s put actual numbers on this. The comparison many San Antonio homeowners make is: “Why should I pay for a tune-up when I can change filters and rinse the coil myself?” It is the wrong question. The right question is: “What does a professional catch during a tune-up that I would miss, and what does that early detection save me?”
Annual DIY maintenance cost (materials):
- Filters: 12 monthly replacements at $6 each = $72
- Condensate cleaner: 4 applications per year at $4 each = $16
- Coil rinse: water from the hose, negligible
- Thermostat batteries: one set per year = $5
- Total annual DIY cost: about $93
Annual professional tune-up cost (San Antonio market):
- One cooling system tune-up: $90 to $150
- One heating system tune-up: $90 to $130
- Total annual professional cost: $180 to $280
The DIY route saves somewhere around $90 to $190 per year in direct costs. But here is what the professional visit includes that the DIY routine does not:
What a pro checks that a homeowner typically cannot:
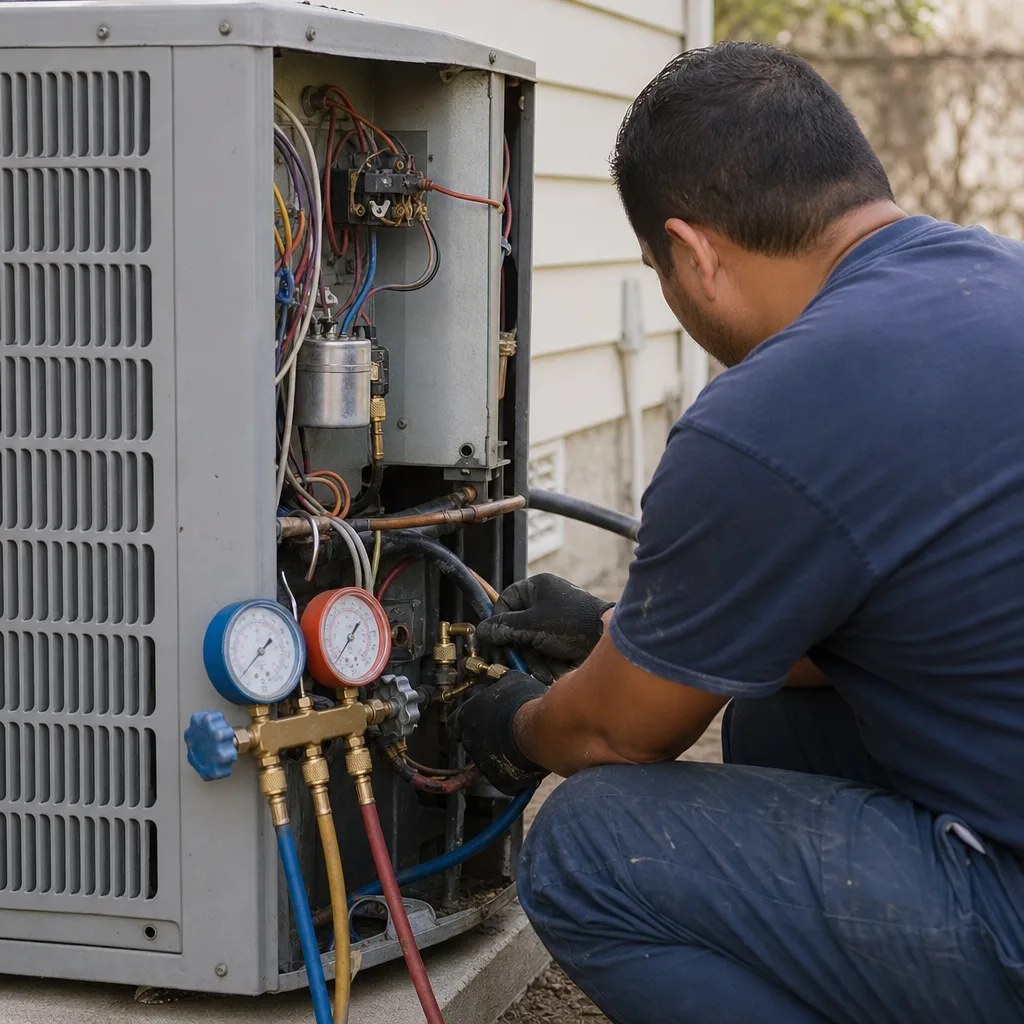
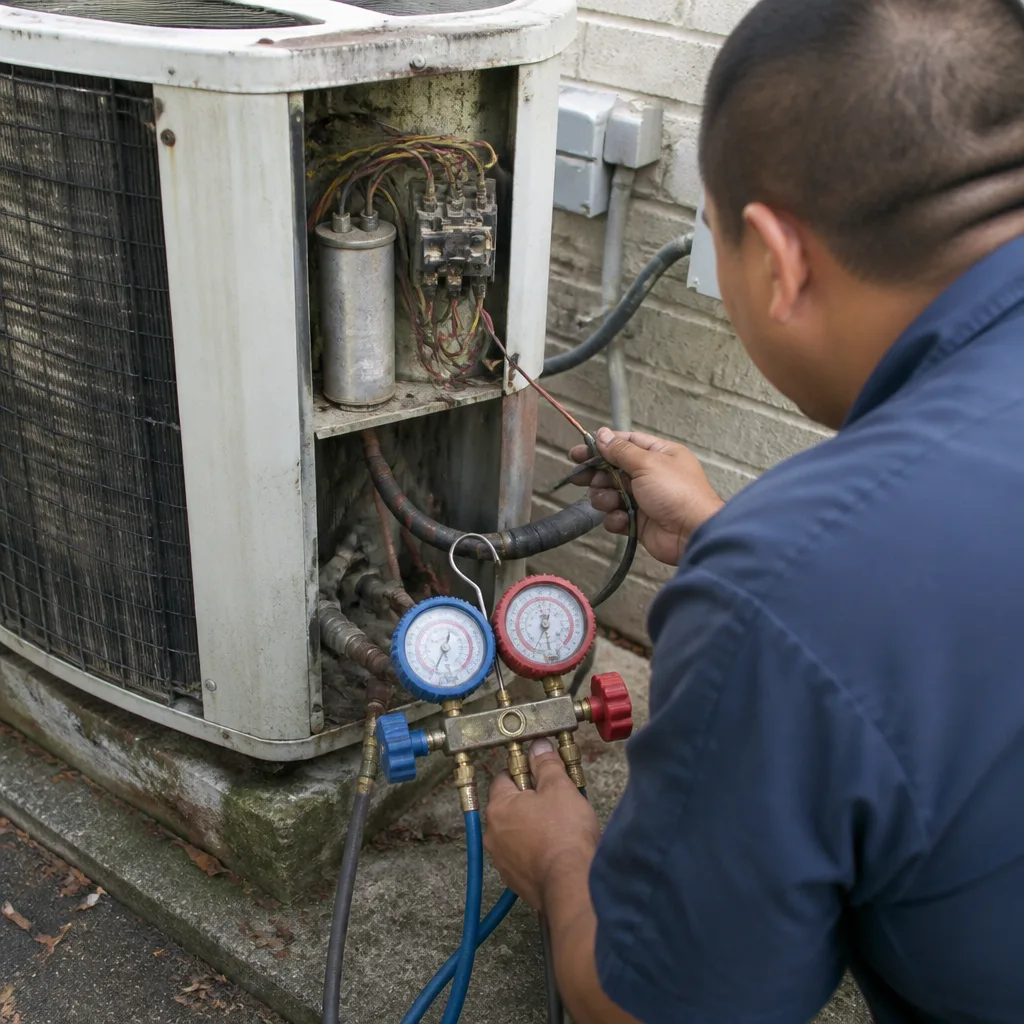
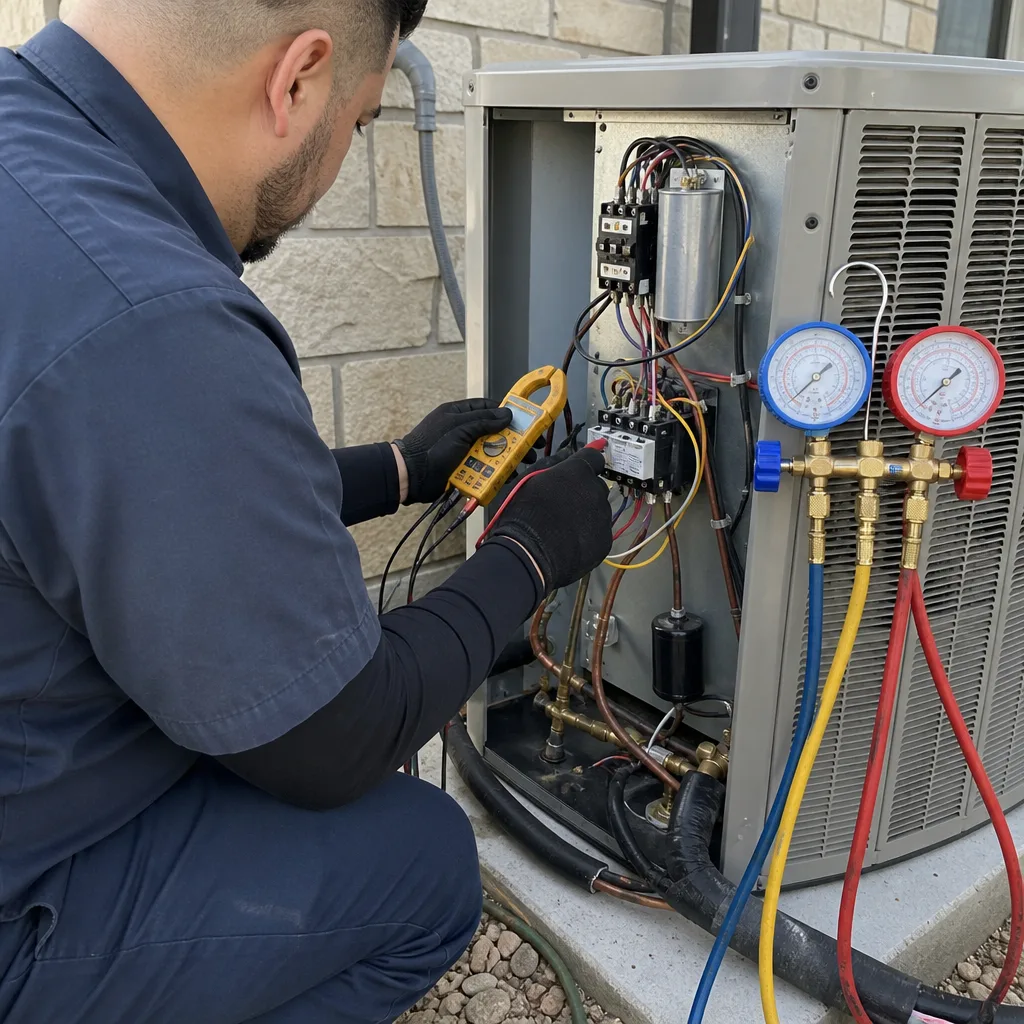
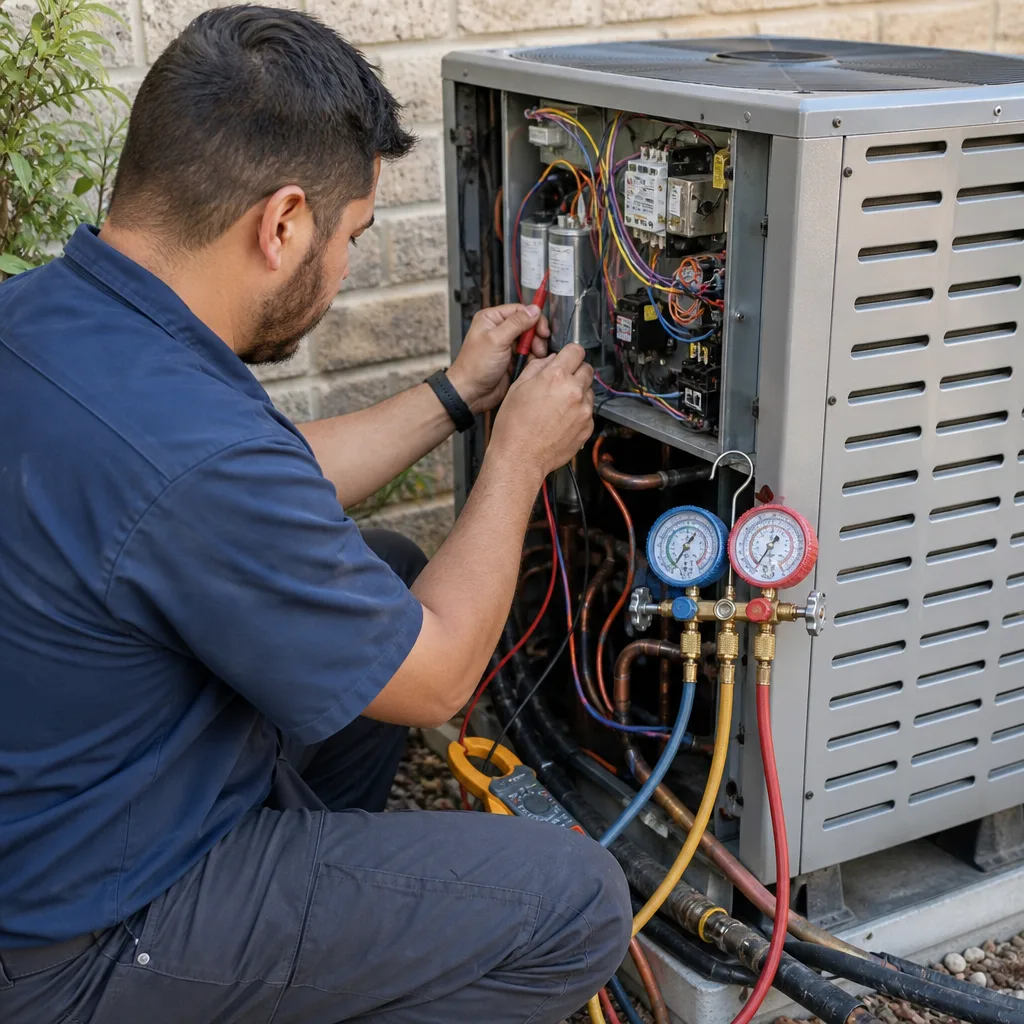
- Refrigerant charge verification using manifold gauges and temperature measurements. A system that is 10% low on charge runs inefficiently for months before a homeowner notices. By the time the homeowner notices, the leak has worsened and the repair cost is higher.
- Capacitor and contactor testing with electrical measurement tools. A capacitor that is losing its rated microfarads will cause compressor failure within a year, but it shows no outward symptoms until the day the compressor stops starting.
- Amp draw measurement on the compressor and blower motors, which catches motors that are working harder than they should and about to fail.
- Temperature split verification, which confirms the system is producing the right cooling delta. In San Antonio, a healthy system produces about a 15 to 20 degree drop across the coil.
- Condensate drain inspection that checks for blockages you have not yet noticed and tests the float switch, which is the device that shuts the system down when the drain pan is about to overflow.
- Electrical connection inspection that catches loose terminals, which cause arcing, which causes burned wires and, in the worst case, a fire.
The common failure that this early detection catches is the “Midnight Monday in August” scenario: the compressor fails at 11 p.m. on the hottest night of the year, and the homeowner pays emergency rates, which in San Antonio run 1.5 to 2 times normal service pricing. A $150 tune-up in March that catches a weak capacitor and replaces it for $120 has just avoided a $400 emergency call in August and a possible $3,000 compressor failure. The math is not even close.
When a Pro Is Your Best Diagnostic Tool, Not Just a Repair Route
Here is a use of professional service that changes the decision framework entirely: use a diagnostic visit as an information gathering tool, not just a repair route. When your AC has a problem and you are not sure whether it is worth fixing or whether the system should be replaced, you need information that only a trained technician with proper tools can provide. A diagnostic visit in San Antonio typically costs $89 to $120, and most companies, including us, apply that diagnostic fee toward the repair if you proceed. Think of it as buying an expert assessment, not committing to a repair.
Here is how that works in practice. Your AC is running but not cooling well. You have changed the filter. You have rinsed the coil. The problem persists. You call for a diagnostic. The technician arrives, checks the refrigerant charge, measures temperatures and pressures, tests the electrical components, and tells you: “Your compressor valves are worn, your refrigerant is low, and your system is 14 years old.” Now you have real information. A repair quote for $2,400 to replace the compressor and recharge. A replacement quote for $7,500 for a new system with a 10-year warranty. The diagnostic fee you paid just saved you from making a $2,400 repair on a 14-year-old system that was likely to need another $1,000 repair within two years. The diagnostic was worth every penny.
This is the smartest way to use a professional service when you are uncertain. Do not guess. Do not keep adding refrigerant to a leaking system. Do not replace part after part hoping one of them fixes it. Get a diagnosis in writing, with specific findings and specific prices, and then make a decision from a position of knowledge. A legitimate company will give you that written diagnosis and written price without pressure. AC Repair in San Antonio always starts with exactly this: the problem identified, the fix priced, and the decision left in your hands.
For replacement decisions, the same logic applies. AC Installation in San Antonio involves load calculation, equipment matching, and proper sizing, none of which can be guessed. A system that is the wrong size will short-cycle, which wears out the compressor prematurely and leaves humidity in the house. A professional installation quote should include a written load calculation, not just a “looks like you need about a 4-ton” from memory. That load calculation is part of what separates a pro install from a guess that costs you for 15 years.
Common Mistakes to Avoid
- Attempting to add refrigerant without certification. This is a federal violation, not a minor technicality, and refrigerant purchased from an off-the-books source is often contaminated, which destroys the entire system. There is no legal gray market for refrigerant.
- Using a pressure washer on a condenser coil. Pressure washers fold the aluminum fins flat, which permanently reduces airflow across the coil. Once fins are flattened, fin straightening is time-consuming and sometimes impossible; in severe cases, the coil must be replaced at $800 to $2,500.
- Replacing a capacitor with the wrong microfarad rating. Oversized capacitors burn out compressor windings. Undersized capacitors cause the compressor to struggle on startup. The capacitor rating is printed on the side of the old one, but matching it requires more than reading a number; the replacement must also match voltage rating and physical application style.
- Skipping professional maintenance to save $150 and voiding a warranty in the process. The warranty clause requiring documented annual service is real, and the manufacturer is not bluffing. We have sat across the table from homeowners holding denial letters.
- Working on a condenser unit in 100°F San Antonio heat without proper precautions. Heat exhaustion and heat stroke are medical emergencies, not badges of honor. A $120 service call is cheaper than an emergency room visit.
- Ignoring a condensate drain that keeps clogging. A drain that clogs repeatedly is telling you something about water chemistry, drain pitch, or biological growth. Repeated DIY vinegar flushes keep the symptom at bay but do not address the cause, and the eventual overflow damages ceilings and floors.
- Believing a YouTube tutorial filmed in a mild climate applies to a 15-year-old San Antonio system. Our summers are hotter, our pollen seasons are longer, and our attics are more punishing. The conditions are not the same.
When to Call a Professional
Call a professional when the problem is electrical, refrigerant-related, gas-related, or when the system is not producing cold air despite a clean filter and clear drain. Call a professional when you hear grinding, screeching, or banging sounds from either the indoor or outdoor unit, because those sounds indicate mechanical failure, not maintenance. Call a professional when the system is short-cycling, meaning it turns on and off every few minutes, because that pattern destroys compressors. Call a professional when your thermostat shows a temperature but the house does not reach it. Call a professional when there is water where water should not be. And call a professional when the system is over 12 years old and the repair quote is more than 30% of a new system’s cost, because that is the industry-standard replace-over-repair threshold. Halden Heating and Air San Antonio offers free estimates in San Antonio, call (903) 623-6784. We will show you a written price before any work begins, and we stand behind every repair with a written guarantee.
Frequently Asked Questions
No. Federal regulations under Section 608 of the Clean Air Act prohibit the sale of refrigerant to anyone without EPA Section 608 certification. Refrigerant handling, including adding charge, recovering charge, or opening the sealed system, is legally off-limits for San Antonio homeowners regardless of what a YouTube tutorial suggests.
We do not recommend it, and neither do the manufacturers. Capacitors store voltage even with power disconnected, and contact with a charged capacitor can be fatal. A wrong-size replacement damages the compressor, and unauthorized electrical work voids manufacturer warranties. This is a $120 to $250 professional repair, not a $20 DIY part replacement.
Most San Antonio HVAC companies charge $90 to $150 for a cooling system tune-up and $90 to $130 for a heating system tune-up. Annual professional maintenance is also required by many manufacturer warranties to keep parts coverage valid, so the tune-up pays for itself in protection as well as early detection.
San Antonio homeowners can replace air filters monthly during cooling season, flush the condensate drain with vinegar every 2 to 3 months, swap thermostat batteries twice a year, and clear leaves and debris from around the outdoor condenser unit. These four tasks cover the maintenance items that do not require certification or specialized tools.
You save roughly $90 to $190 per year in direct costs but lose two things: early detection of failing capacitors, refrigerant leaks, and motor problems that a professional catches before they become $400 emergency calls; and warranty coverage that many manufacturers tie directly to documented annual professional maintenance. A denied compressor warranty claim can cost $1,800 to $3,200. The math favors the pro for the once-a-year visit.
Yes. Our diagnostic visit identifies the specific problem and gives you a written repair price. If you approve the repair, the diagnostic fee is applied toward it. You get the information you need to decide between repair and replacement without paying for a guess. Call (903) 623-6784 and a real person answers, 24/7.
The Bottom Line
The DIY versus professional HVAC debate in San Antonio comes down to one clear line: tasks that do not touch refrigerant, gas, or electrical components are safe and worthwhile for homeowners to handle themselves, and those four tasks, filters, drains, batteries, and debris clearing, will keep your system healthier between professional visits. Everything else is off-limits for good reason. Refrigerant is federally regulated. Gas furnaces can kill. Capacitors can kill. Warranties can be voided. The money a San Antonio homeowner saves by skipping an annual professional tune-up is typically less than $200. The cost of a single avoided failure, a caught capacitor, an early leak detection, a warranty claim that holds up, is worth several times that. Do the safe DIY work with pride. Call the pro for the rest.
Written by Andre Fuller, Owner at Halden Heating and Air San Antonio, serving San Antonio since 2004.
See the difference
 Before
 After
After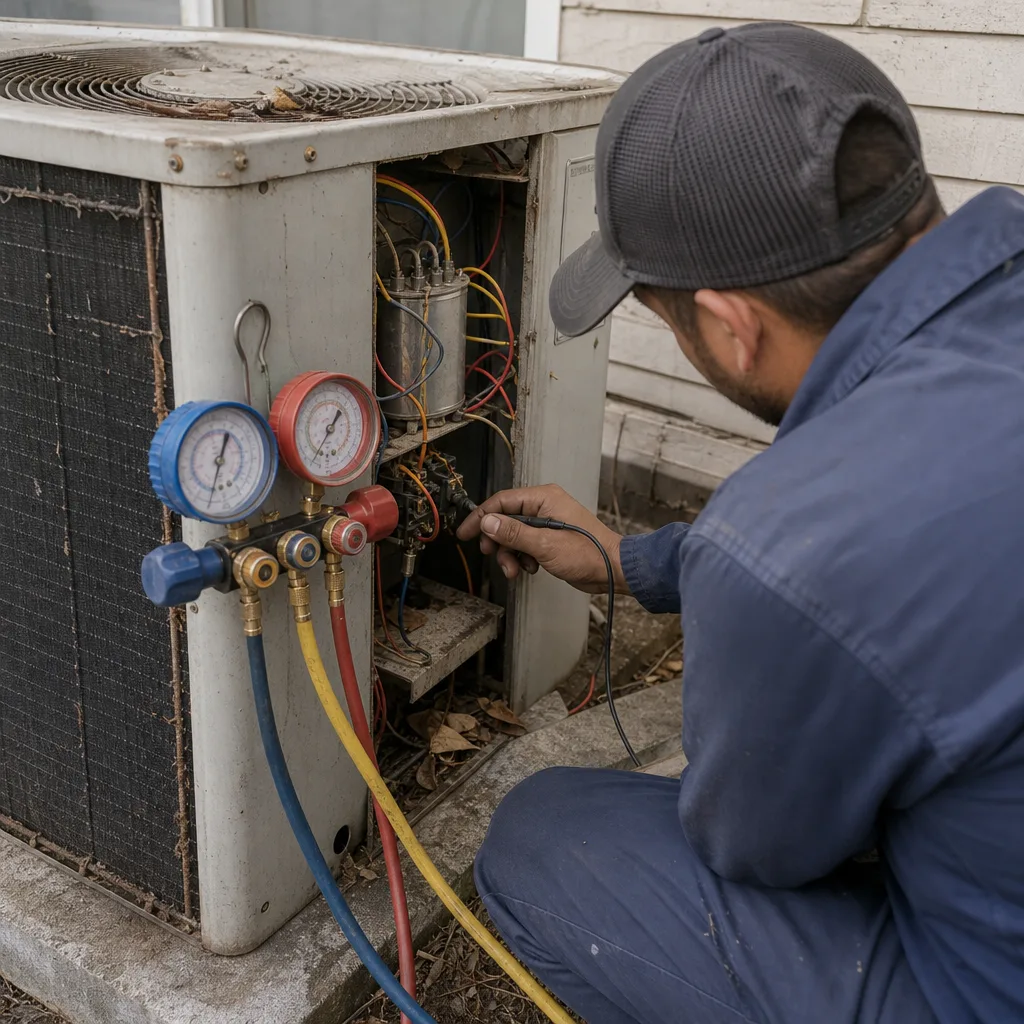 Before
 After
After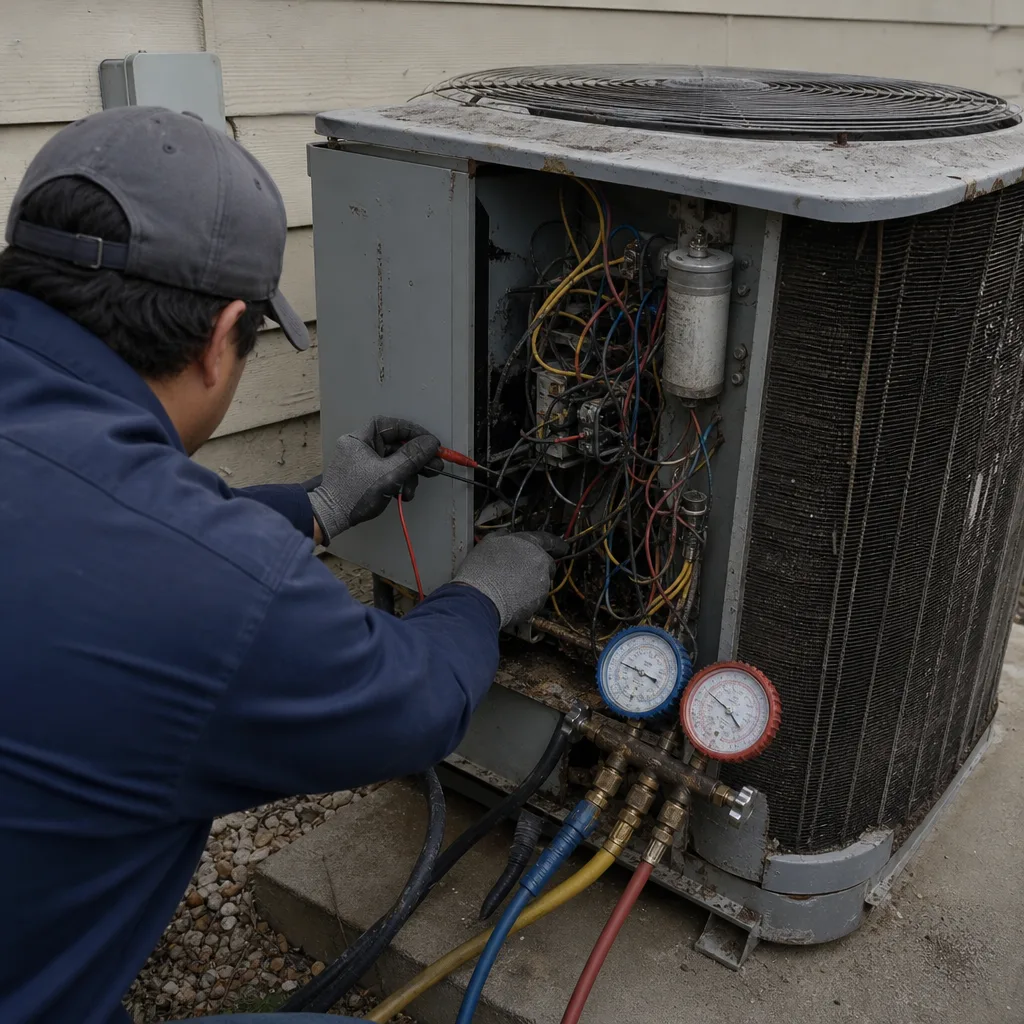 Before
 After
After